
Secrets to The Art of Layering
Six decorator secrets to the art of layering to achieve that collected style without looking cluttered.

Grab your cup of coffee or tea and come sit with me! I’m going to let you in on a few of my best secrets to the art of layering!
You know the look I’m talking about.
It’s collected and chic with an elegant dose of maximalist.
And oh so Grandmillennial!
The art to layering comes in finding the balance between cluttered overdose and collected distinction. Creating a layered look is all about mixing shapes, colors, patterns, styles, and textures to add personality and depth to a room for a collected look that feels harmonious.
6 Secrets to The Art of Layering:
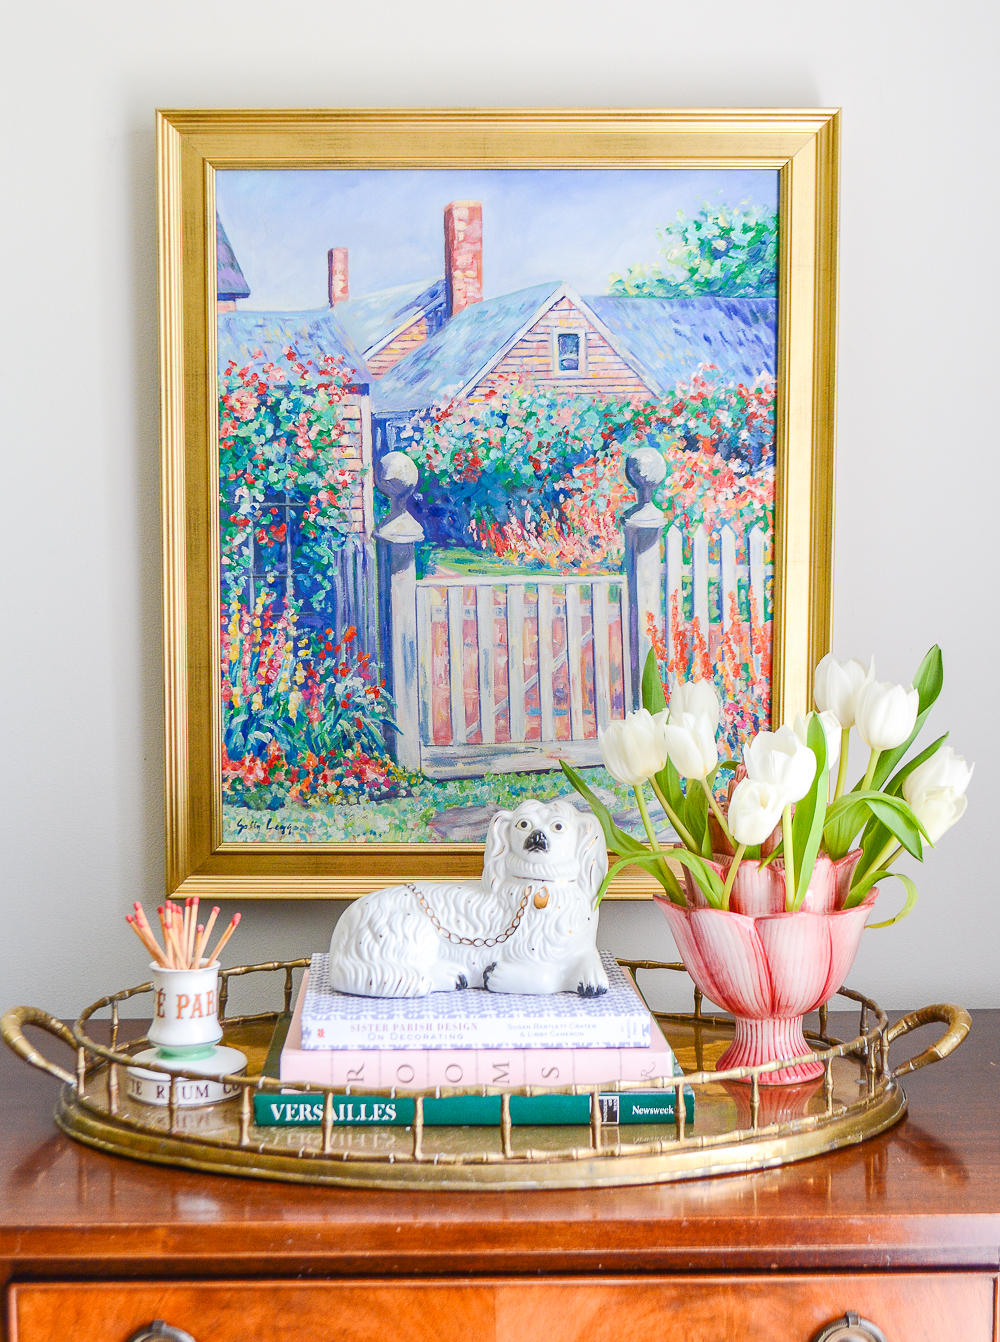
No. 1 Use Trays & Books in Vignettes
Start your layering with a foundation of a tray or books. These accents can help corral or group objects together and provide elevation. It is also a great opportunity to add color, texture, or shine depending on the cover of the books or style of tray.
I often remove the dust jackets on coffee table books because I find the interior to be a much better color or a less busy pattern. Don’t be afraid to try this!
I always keep three types of trays on hand for decorating: a silver one, a charming colorful or patterned one, and a vintage brass one. For more on using trays in your decorating see this post.
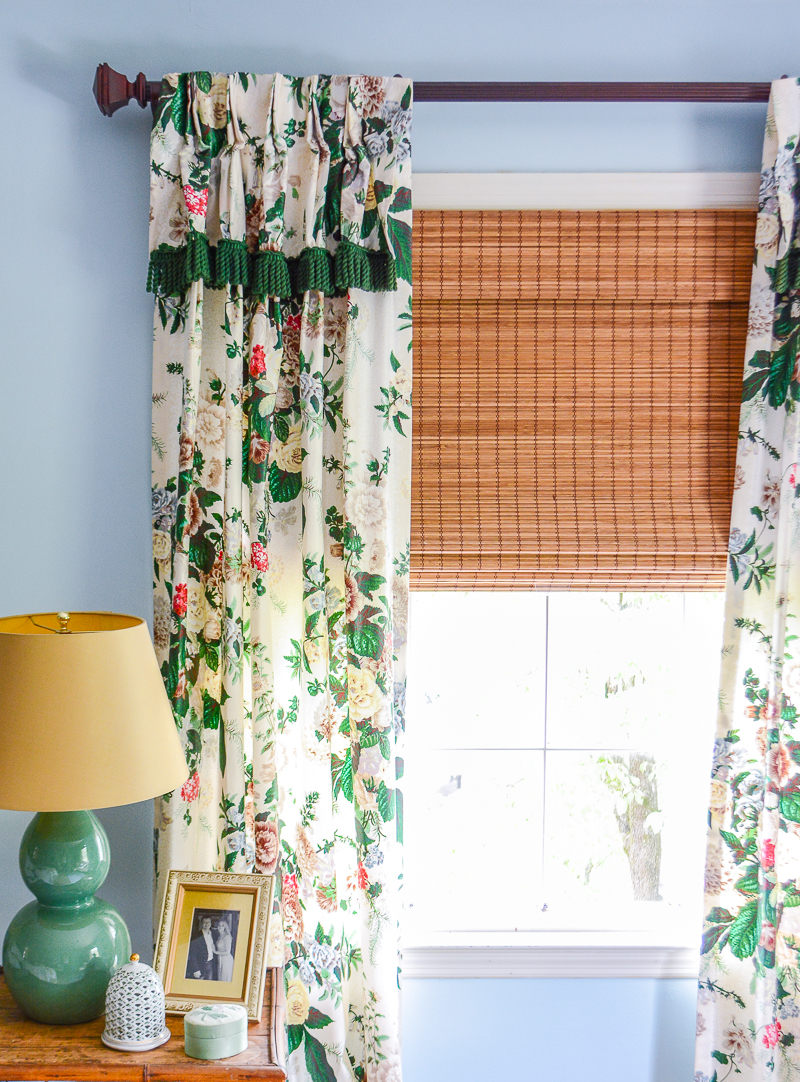
No. 2 Layer Your Window Treatments
Window treatments are a wonderful opportunity to mix patterns and textures. My two go tos are bamboo shades or a soft white sheer. You can put both underneath a colorful or boldly patterned curtain.
In my bedroom, I’ve mixed a vintage chintz curtain with a lovely bamboo shade. The two go so beautifully together because both feel nature inspired but contrast in texture. My shade is tiki carbon and available here.

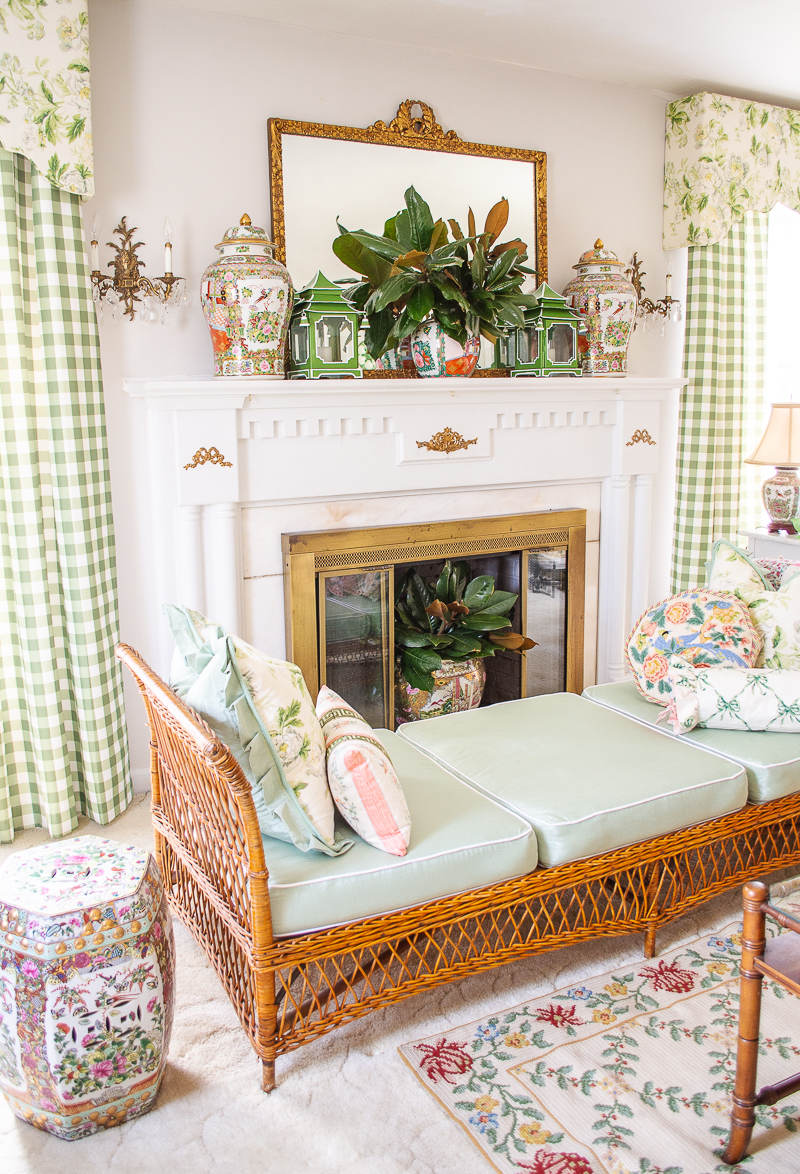
My living room takes this layering one step further, mixing three elements: a chintz cornice, a gingham curtain, and a soft white sheer. All you need is a double bar curtain rod to pull this look off. Check out this gold one or this French return style.
Charming Decor for Layering:

No. 3 Balance with Neutrals
When things start too feel overdone or too cluttered introduce more neutrals and especially white! A good dose of white will help settle all the different elements down and provide your eye a moment of rest.
You can see this tip used in my formal living room which is predominately done in pastels. But I painted the walls a soft gray and liberally mixed in pops of white to keep the color layering harmonious.
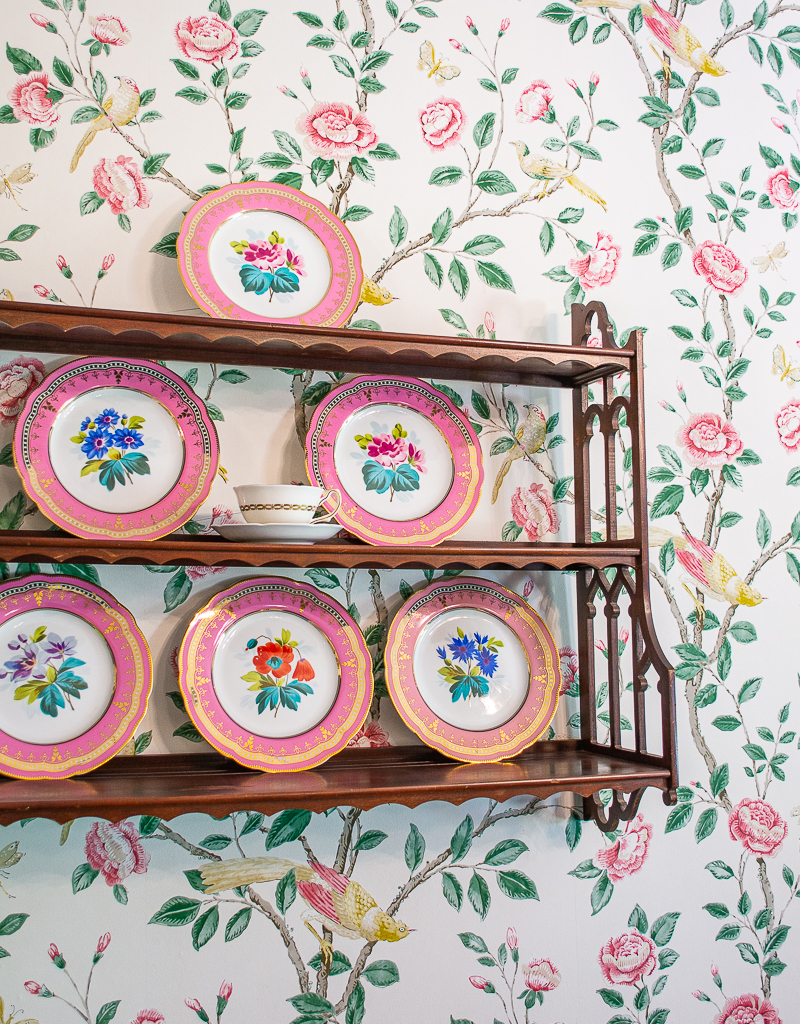
The above photo is from a decorating project I did at The Emerald Chandelier. I’m sharing it because you can see how white backgrounds can help bold colors and different patterns work together and not feel overwhelming.
No. 4 Layer Pattern on Pattern
You knew I was going to say this one, right? Mixing different patterns is probably the quickest way to achieve a layered look in your interiors. It is also such a great opportunity to really show off your personality. What you pair together says so much about your tastes and style.
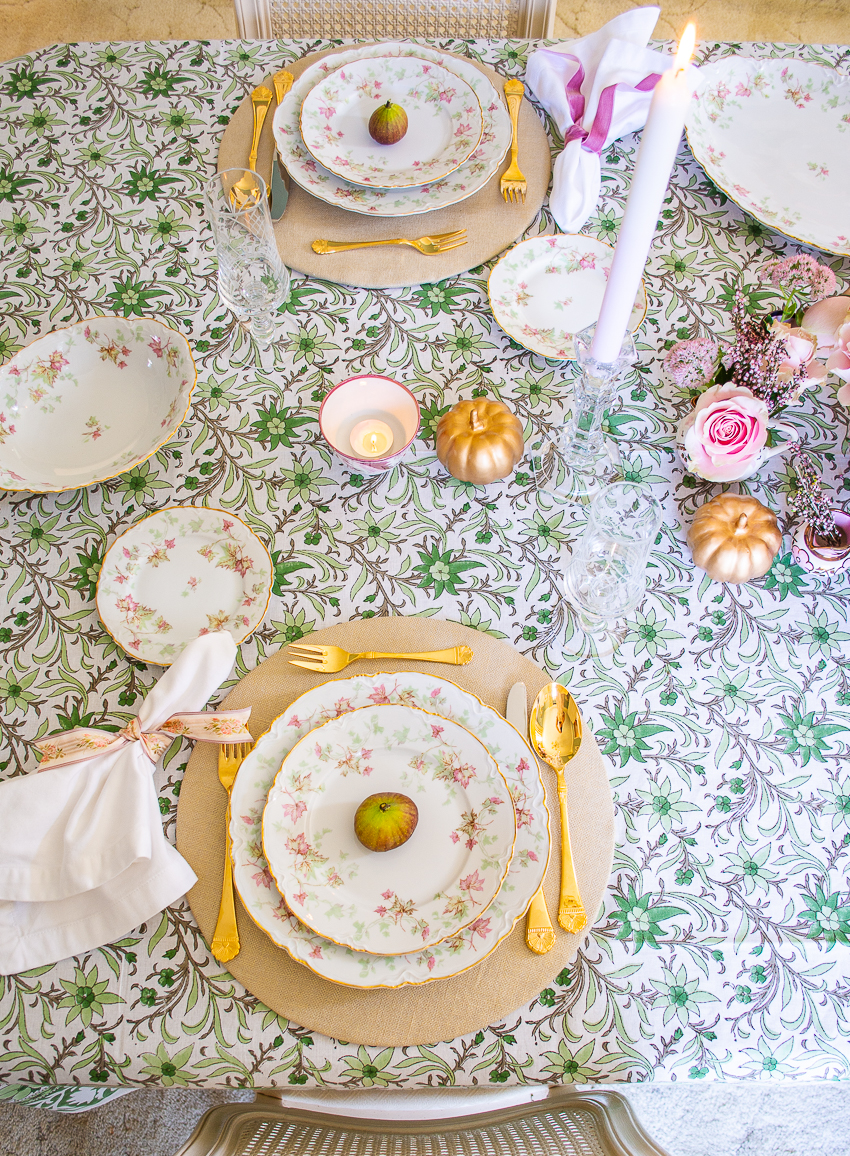
I’m always playing to my Grandmillennial, romantic preferences putting multiple floral patterns in a room or on a tablescape or even for an outfit! A tablescape is actually the perfect place to start practicing your pattern mixing. It’s not a permanent commitment, and you probably already own china and linens in different patterns.
Read my advice on playing with patterns in this post.
No. 5 Plan Spatially Back to Front
A beautifully arranged vignette looks best when you plan from back to front working on a stair step formation. Put your tallest or heavier decor in the back or mid-ground and move down in size and scale as you move forward. What do I mean by heavier? This is decor that feels solid or weighty either because of its scale, color, shape, or material.
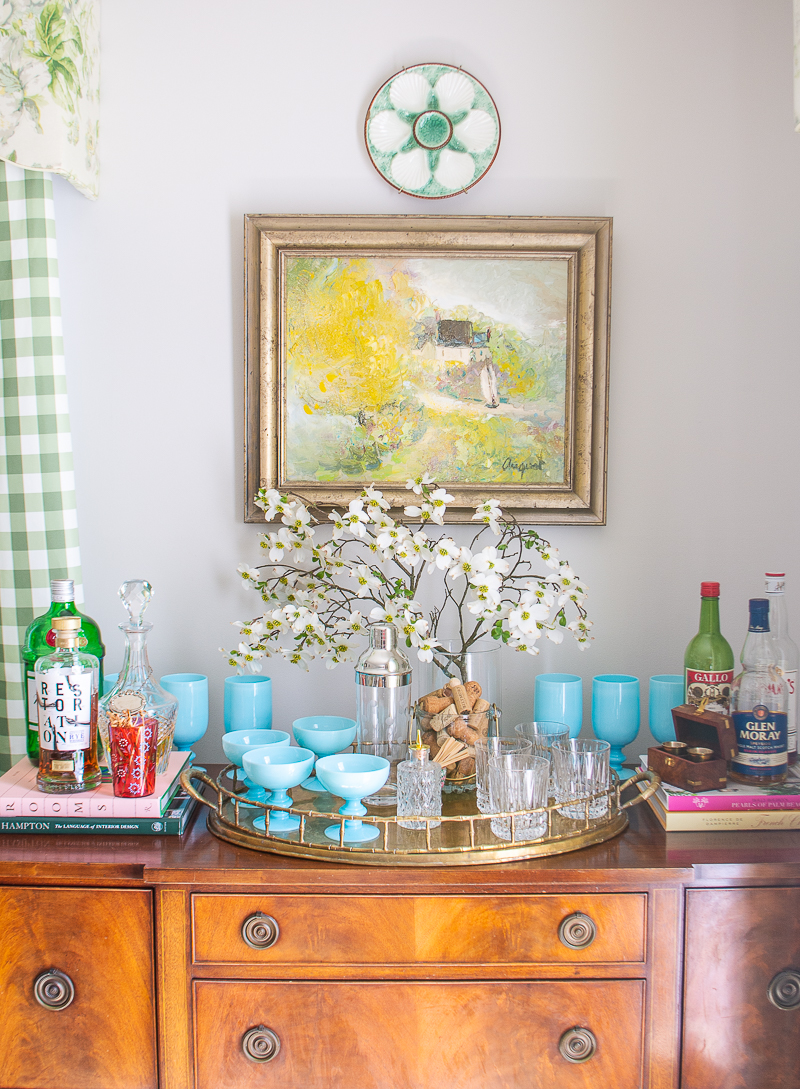
You can also apply the same stair step idea to work from the outside into the middle like I did in the above bar arrangement.

Don’t overthink this tip to layering. Let form and function play a significant part in your arrangement and you will easily do this. For example, a desk set up like above demands a flat area to write and work, so naturally smaller items are in the front and they grow in height as you move back.
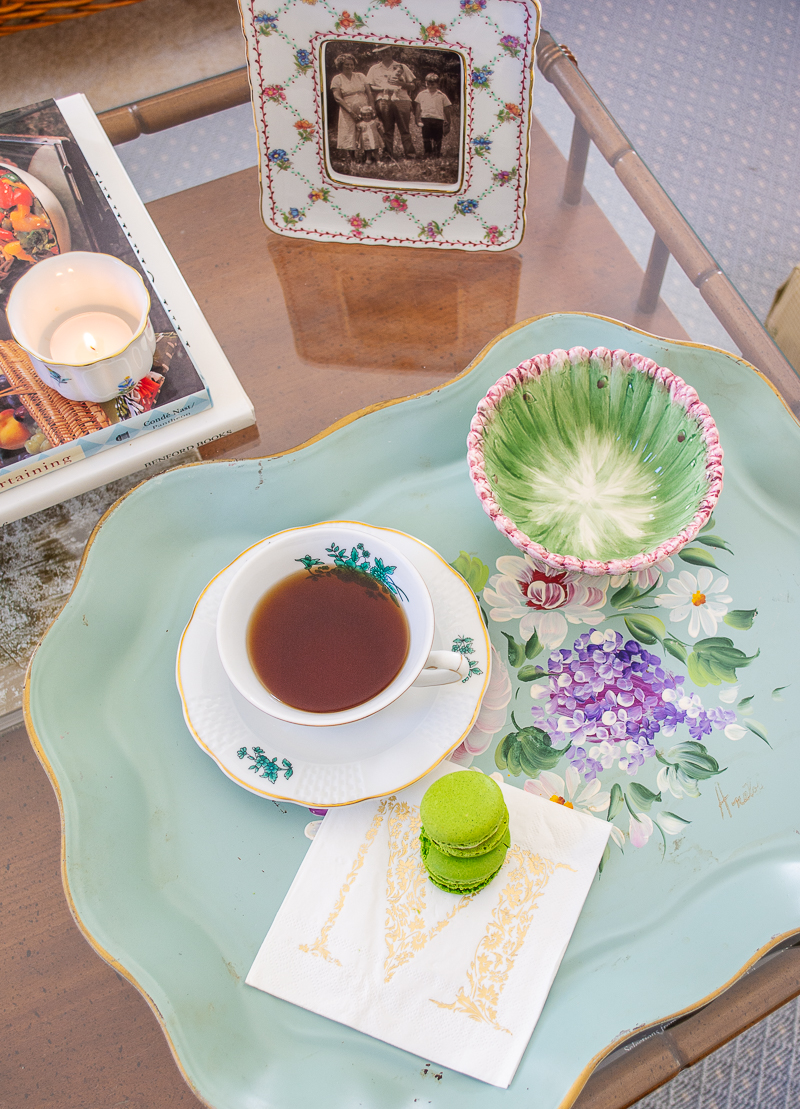
No. 6 Mix Textures & Sheens
My final secret to the art of layering is to mix different textures. Remember texture is both how something feels and how your eye perceives that it feels, so this decorating trick plays on both senses.
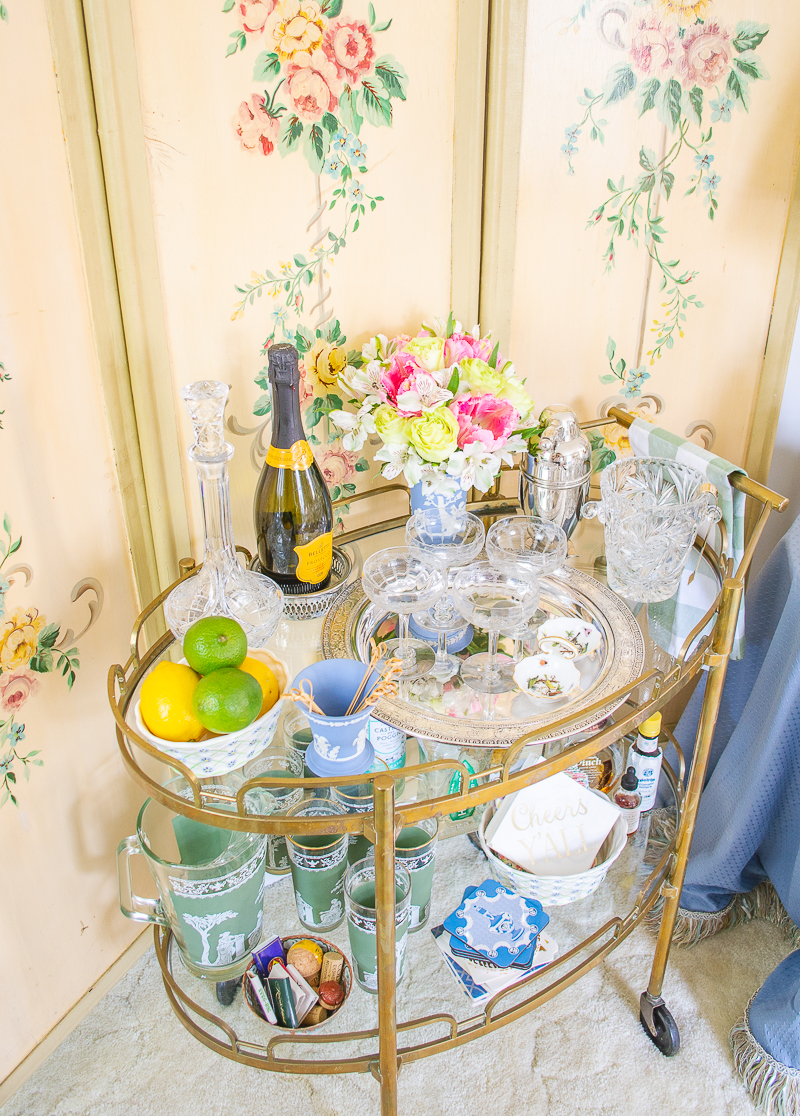
In this bar cart display, I’ve layered a lot of different elements that have various textures, but I balanced the mix by juxtaposing both shiny and matte surfaces.
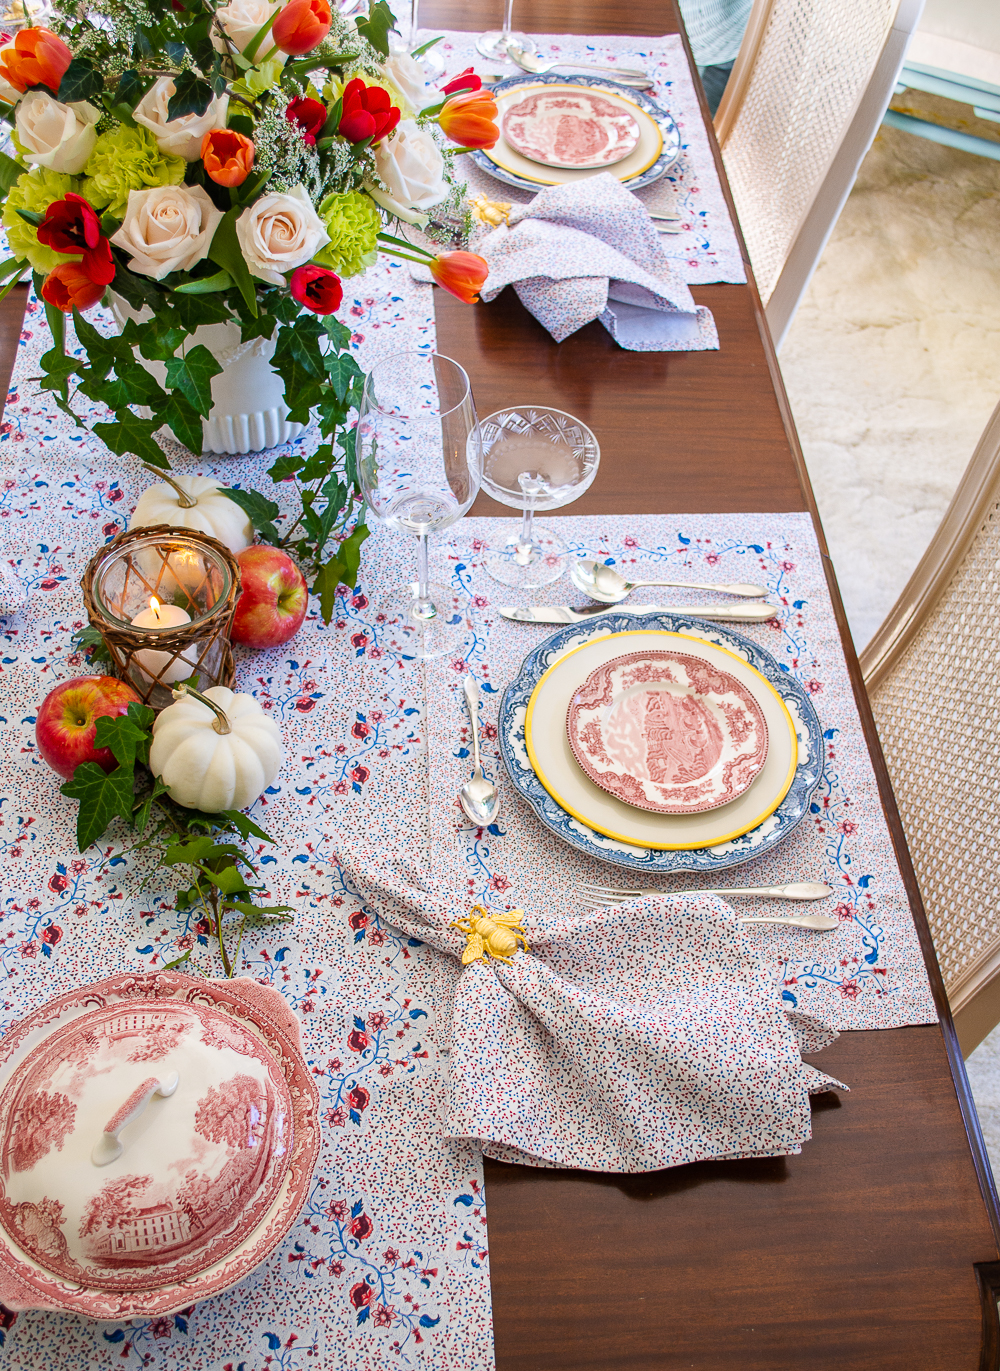
Again I suggest playing with layering texture and sheen by setting the table! You naturally have a number of elements with different surfaces from china to linens and florals to crystal when you set the table. I love to throw a rustic note in with highly polished decor like the wicker wrapped votive above. It breaks up the monotony of shiny and feels chic.
—–
Well it’s probably time to grab that second cup of coffee and get started playing with my secrets to the art of layering! Enjoy!
Charming Decor for Layering:
Hi there! I'm Katherine...

the curator, writer in residence, and decorator behind Pender & Peony.
I’ve decorated my entire 1960s brick colonial with secondhand finds and antiques on a budget without sacrificing style, quality, or comfort.
You CAN have a traditional home with timeless charm on a budget too!
The problem isn't your taste -- it's an industry that glorifies the next big trend and only showcases high end custom design.
That's why I created The Collected Room Method to teach you my approach to the collected interior!