
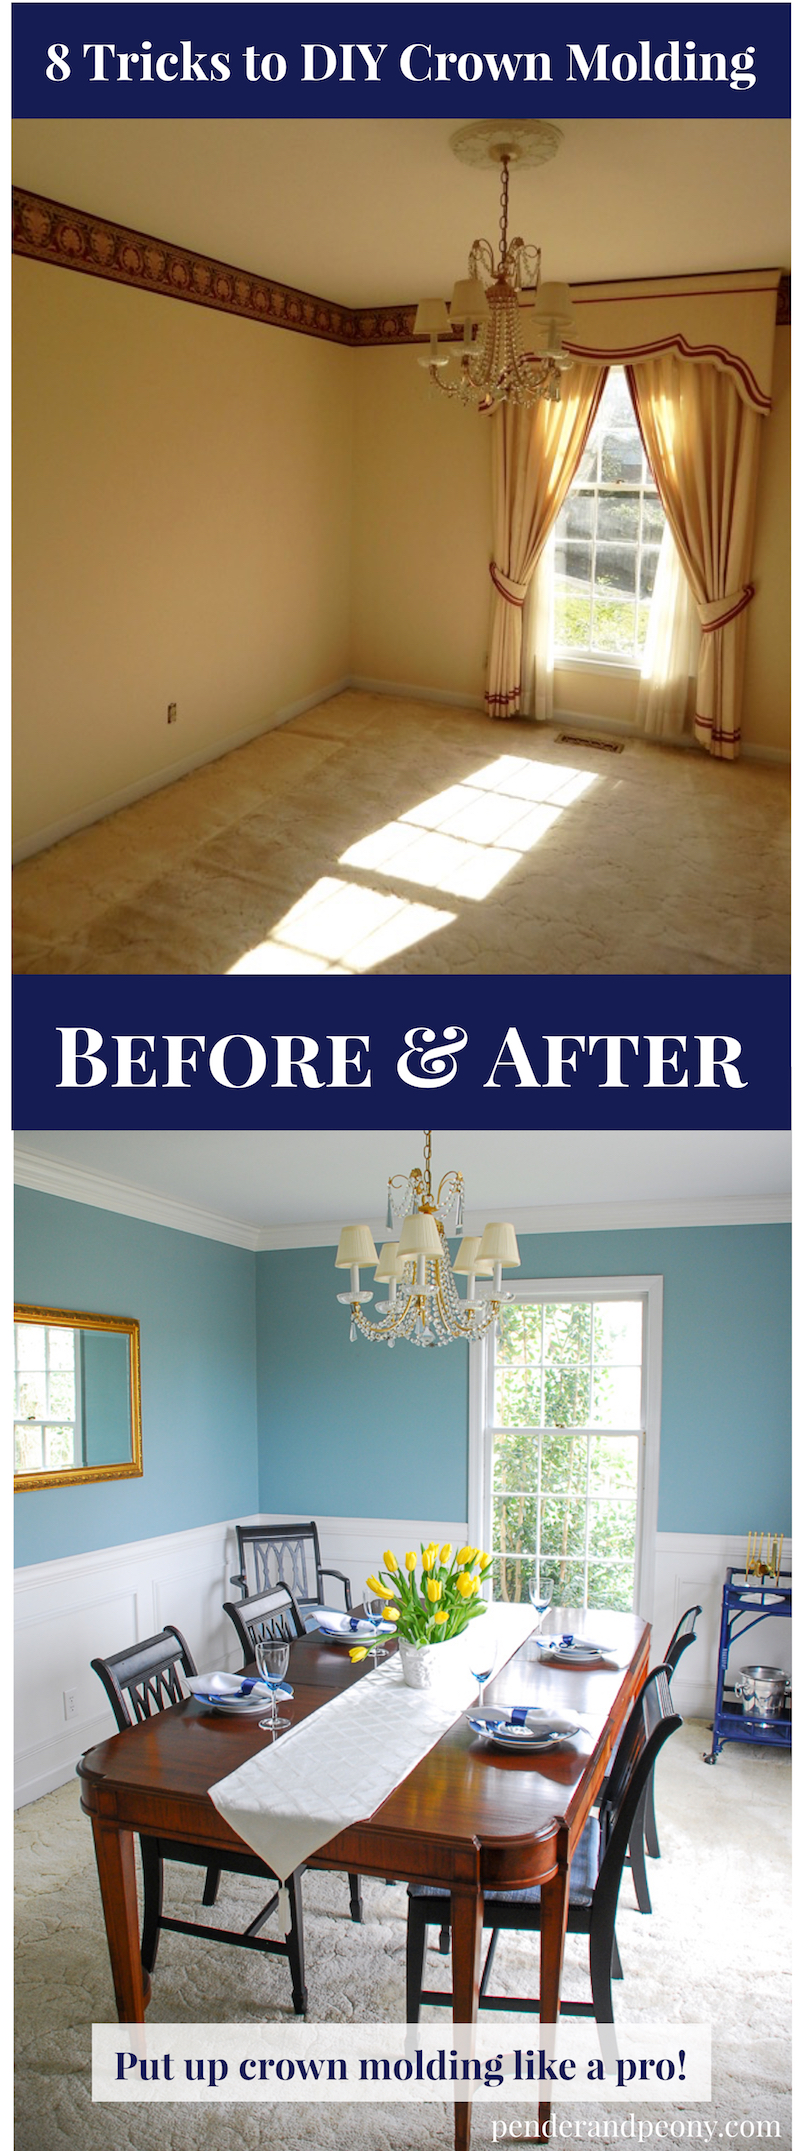
8 Tricks to DIY Crown Molding
Install crown like a pro with these 8 tricks to DIY crown molding!
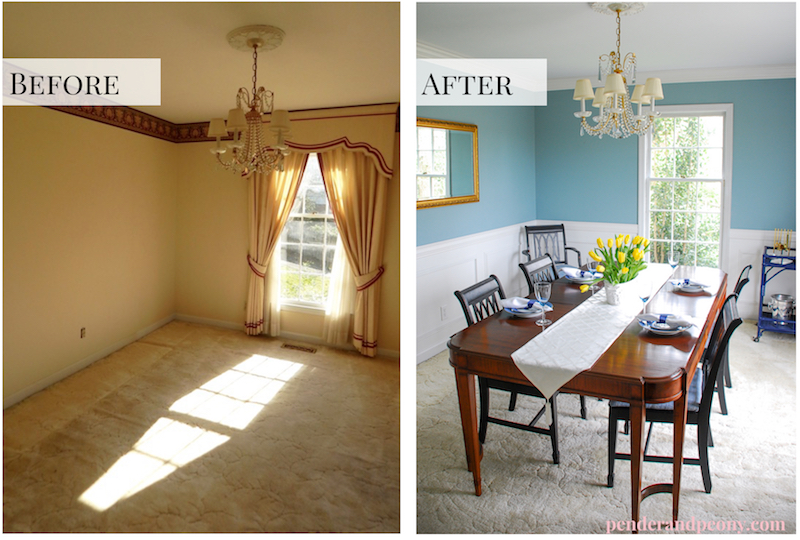
Hey, y’all! I am excited to share our adventures in crown molding finally! I know, we sure took our sweet time finishing up this DIY project, but here we are ready to share eight tricks to DIY crown molding.
Crown molding is an elegant addition to any room. It is a finishing touch that completes the look and feel of a space like a pearl necklace on a chic outfit. Crown molding is also the easiest way to add architectural interest to a room without a fully involved construction project.
Installing crown molding, though can be seriously tricky! TRICKY! TRICKY! TRICKY! Thanks Run-DMC for that earworm.
You need to take your time measuring (check it at least twice), buy some extra length of crown for mistakes, and be conscientious about your corner cuts. But don’t feel overwhelmed, S. and I are here to help you with your DIY crown molding project! Ok, mainly S. since he is the carpenter, handy-man, all-around Mr. Fix-it!?
If you are working on DIY wainscoting or chair rail check out this post.

Getting Started:
Before you start the installation of your DIY crown molding gather all your materials and set up your saw in an open space where you can maneuver the lengths of trim. Using the best portable table saw will ensure easy movement in whatever space you’re decorating. I also highly recommend painting the trim before you start installing. It is easier to do it up front, but keep in mind you will have to go back and touch up smudges and nail holes. Depending on the width and size of your crowning you’ll want to conduct some research into the dimensions and requirements
when buying drywall screws to ensure a plush fit and install.
Materials List:
*This post contains affiliate links.*
-
- Hammer and nails
- Screw gun, screws, and anchors
- Ladder
- Measuring tape
- Level
- Caulk
- 2 x 4 braces
- Table saw
- Kreg Jig and protractor
- Pencil
- 3 pieces of molding, 2 types: 2 bases and 1 crown
8 Tricks to DIY Crown Molding:
No. 1 Create your own elaborate crown molding profile
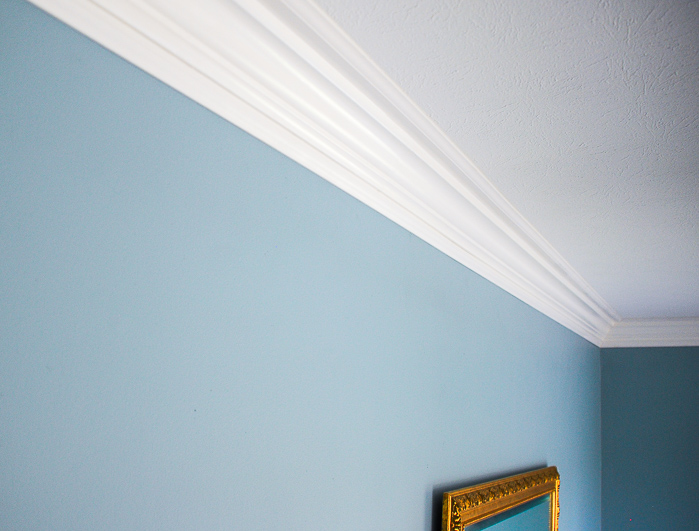
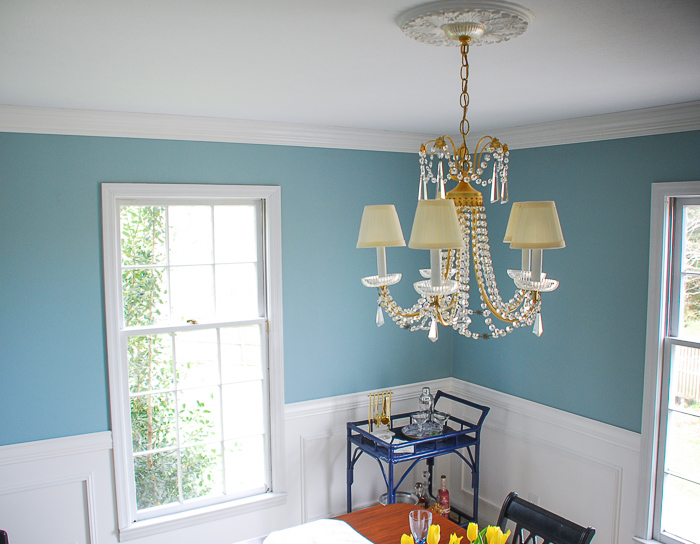
If you have been pondering the installation of crown molding, you know that the more elaborate the millwork, the more expensive the molding. But there is a cheaper, DIY to help you achieve the look of ornamental crown molding with less expense by using multiple pieces of molding, including baseboard to get the look. S. and I used 3 pieces of molding: 2 strips of baseboard (1 on the ceiling and 1 on the wall) with a piece of crown molding in the middle.
The pros call this a build-up!
No. 2 Get the crown profile design right

Don’t put the cornice and base fully into the corner, instead pull them away an inch or so. This helped us create the right profile look for the crown molding overall. Depending on the type of trim you use, you may need to vary one side more than the other. Play around with small pieces of the trim to see what looks best.
No. 3 Grab a helping hand or if none are around, make your own support
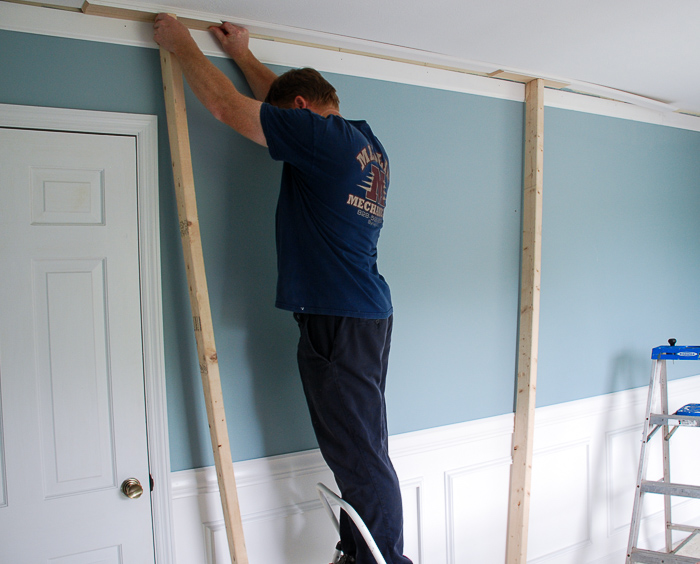
When putting up your DIY crown molding it really is best to have a second pair of hands to help hold the trim up. If you are like S. and you don’t have patience for your lovely wife to stop what she is doing to come help, you make your own support out of 2 x 4s. Looks like you can also buy this handy support from Rockler, if you don’t want to DIY your own.
No. 4 Pre-drill holes for anchors


The wall base should be installed first, and you must put your nails into the studs. You can use a brushless drill or any other drill to make your drill holes. Then to install the cornice (that’s the baseboard trim for the ceiling) you will need to use anchors and screws if the floor joists don’t run in the right direction or you cannot nail into them. There are no studs like in the wall, so anchors will secure your cornice molding. S. temporarily supported the baseboard on the ceiling and pre-drilled the holes then he took it down and inserted the anchors. Use a sheet rock screw so that they are flush.
No. 5 Hide the screws
Be sure you install the anchors and screws far enough back on the cornice that the third piece of crown will hide them. This is important because even with trick No. 8 screw heads are hard to cover up!
No. 6 Use a Kreg Crown-Pro Jig

According to S., this is the “be all, end all” tool for cutting crown molding corners. You will need to measure the angle of your crown trim and the corners of your room with the jig’s protractor then set the jig to that angle. Beyond that I really didn’t understand what he was talking about, so I recommend watching this video:


No. 7 Nail crown to base anywhere
To install the third piece of your DIY crown molding nail it to the base piece of trim on the wall. You don’t have to worry about where you nail it because the base piece is already secure.
No. 8 Caulk is still your best friend
As I mentioned in my DIY wainscoting post, caulk is your saving grace. You can fix little gaps between the joints and in the corners as well as nail holes with this helpful stuff. Squeeze it in, wipe off the excess, sand any rough edges after it drys, re-touch with paint and voila beautiful crown molding!
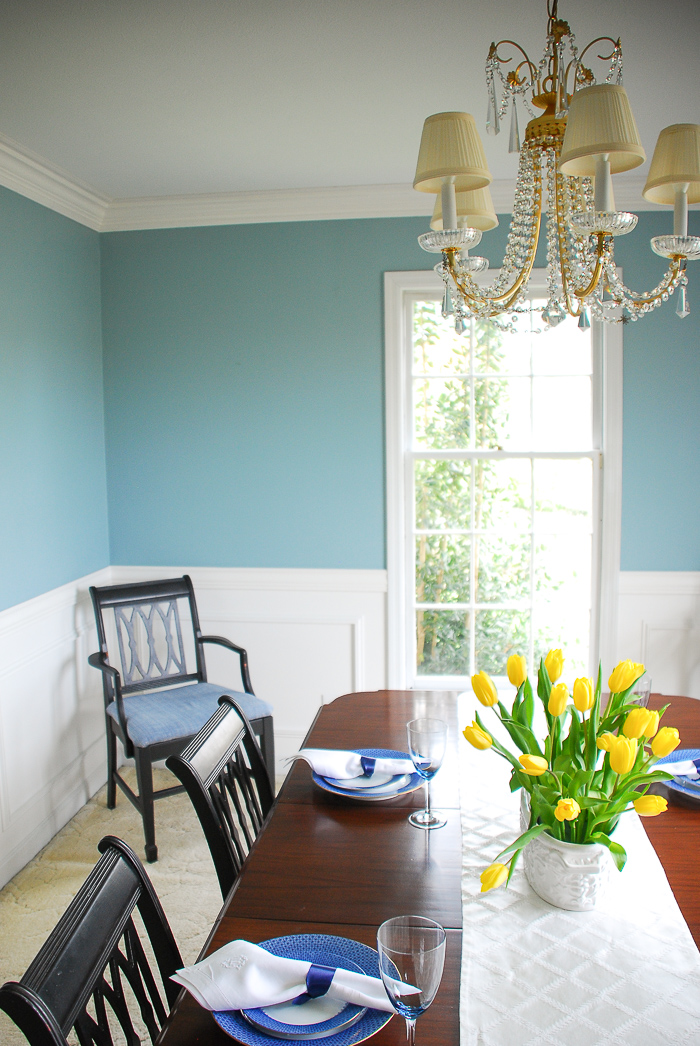
I am just thrilled with how our dining room is coming along! There are three key elements the room is still missing: new dining room chairs, curtains, and a dark hardwood floor.
Dining room renovation reveal here!

Keep up with the latest on P&P and get access to exclusive content with my mailing list!
Pin this for later:
Partying with The Dedicated House…Between Naps on the Porch…Designthusiasm…Pumps & Pushups…
Hi there! I'm Katherine...

the curator, writer in residence, and decorator behind Pender & Peony.
I’ve decorated my entire 1960s brick colonial with secondhand finds and antiques on a budget without sacrificing style, quality, or comfort.
You CAN have a traditional home with timeless charm on a budget too!
The problem isn't your taste -- it's an industry that glorifies the next big trend and only showcases high end custom design.
That's why I created The Collected Room Method to teach you my approach to the collected interior!
#8! I use #8 a lot when we do crown molding. I’m pinning this one for sure! I love the extra fancy molding we are going to attempt this and a coffered ceiling look soon…. well maybe in the fall. Thanks for the info.
Thanks so much Lorin! Glad you found this helpful and good luck with your project.
Hello Katherine! I’m stopping by from the Make It Pretty Monday linky at The Dedicated House as I saw your post ~ definitely saving to my DIY Projects for our next house! We learned a little about putting up crown moulding with our first house; learned to back cut corners as needed to get them to fit tighter.
Have a great week,
Barb 🙂
Thanks Barb!
Wow this looks amazing! You’re house is lovely and the color is beautiful for a dining room!
http://www.mylittlenest.org
Ruth, thank you for stopping by! Yes, this color was a bit of a bold choice for me, but I love it so much.
Our kitchen and dining room have been taupe and beige for almost 20 years. Most everyone I know is using grays in these type of rooms. I love color. I have been looking for a color in the aqua family. The color you have chose in your dining room is lovely. Would you please share with me the color you selected?
Hi Holly! I’m so glad you like it. It’s turned out to be my favorite color choice. You can see all the paint colors I’ve chosen for our TN house here:
https://penderandpeony.com/2019/01/10-action-steps-to-implement-a-home-color-scheme/
Hi, thank you for sharing this wonderful tricks of crown molding. I have certainly picked up something new here.
I’m so glad!
This vas very informative. Thank you for sharing!
I’m so glad! Thanks!