
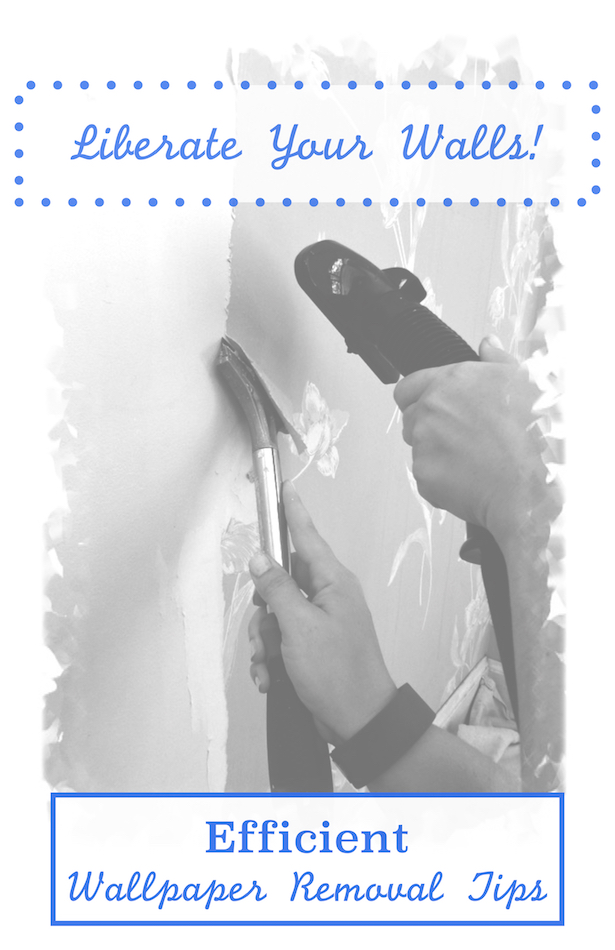
Liberate Your Walls! Wallpaper Removal Tips
Have you been putting off wallpaper removal in your house? Do you find a million other things to do every time you think of tackling it? Is the fetal position one of them? Well, if your growing accustomed to those acid colored daises in the kitchen or you find yourself naming those cute little ducks with the bows, its time to get started.
Our new house is overrun with dated 60’s, 70’s, and 80’s wallpaper from scroll borders to full floral wall coverage. It is one of the first things I started tackling when we moved in, and although I’m still not finished, I developed a few really efficient methods to eliminating it.
Get the Right Tools:
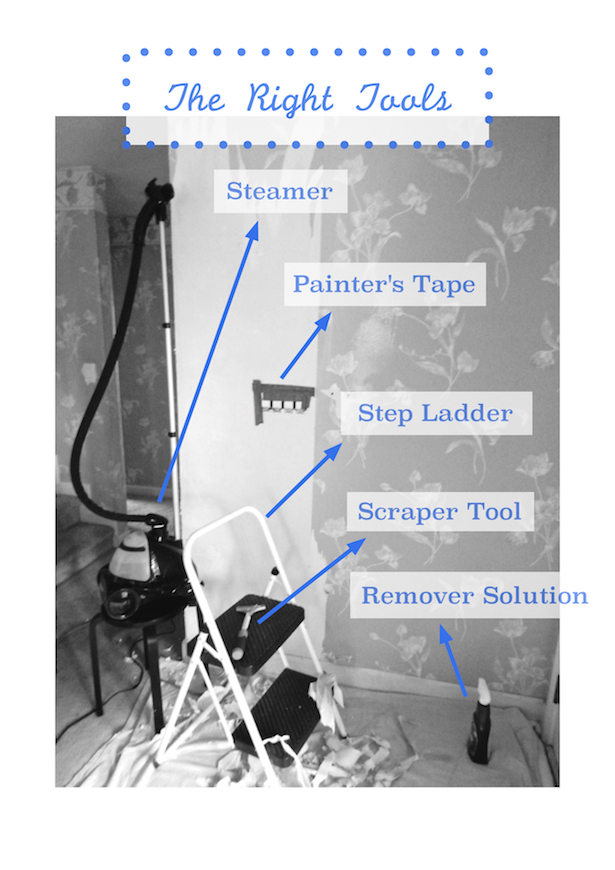
I bought these tools at Lowes.
Prep the Space:
- Move any pictures, curtains, or furniture away from the wall.
- Lay down a drop cloth to protect your floor and catch the wallpaper strips.
- Cover any light switches or electrical outlets with painter’s tape.
Method:
This blue and pink tulip wallpaper has been the hardest to remove. I’m pretty confident it is the vinyl type and was applied directly to the sheet rock. Other wallpapers in the house came off just using the steamer, but this stuff is tenacious. So tenacious in fact that I’ve called it many inappropriate names and had to walk away at times to preserve my sanity!
Step One use the scoring tool to prick the wallpaper surface. This allows the wallpaper removal solution to penetrate.
Step Two spray the solution over a section of the paper and allow to penetrate for 10-15 minutes.
Step Three fill up the steamer and let it get hot. Then start steaming a section. Be sure to use slow, steady strokes over the paper. You should see condensation building up.
Step Four peel up an edge with your finger nail or use the scraper tool in a quick up and down motion to begin peeling paper away.
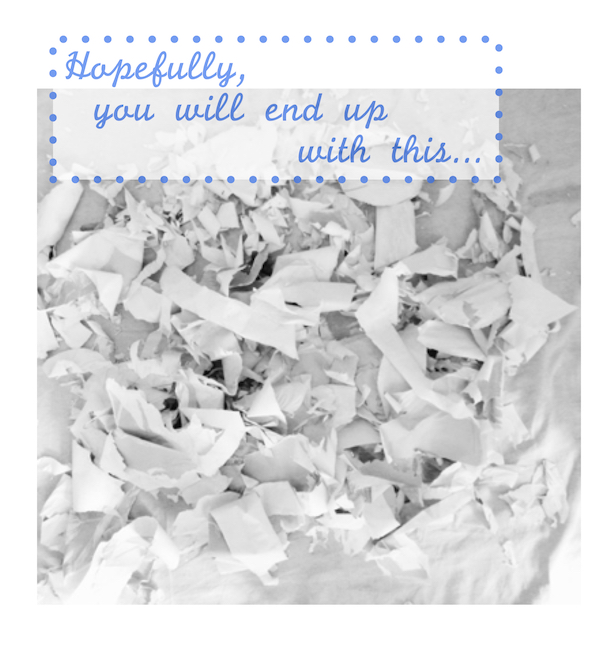
Step Five grab edge of lifted paper and pull away from wall.
If you have done any wallpaper removal, you know that sound is amazing!
Wallpaper Removal Tips:
- If you hear the wallpaper crackle and/or see bubbles form as you run the steamer nozzle over it, this is a good sign that the paper will likely just peel away. Yippee for you!
- Don’t get the wallpaper too wet as this will make it easier to gouge the sheet rock behind the paper. You’ll know you’ve gouged the sheet rock if you are stripping away paper and leaving brown cardboard looking places behind.
- Depending on the grain of the wallpaper, I find it easiest to work up the wall, moving the scraping tool upwards.
- Keep steamer nozzle level to avoid hot water drips.
- Most wallpapers will come away in layers, so after you’ve removed the top decorative layer you must go back and strip the paper backing.
- I already had a Conair garment steamer, so that is what I used. You can find wallpaper steamers that have larger nozzles, but I found this worked really well and it didn’t drip much.
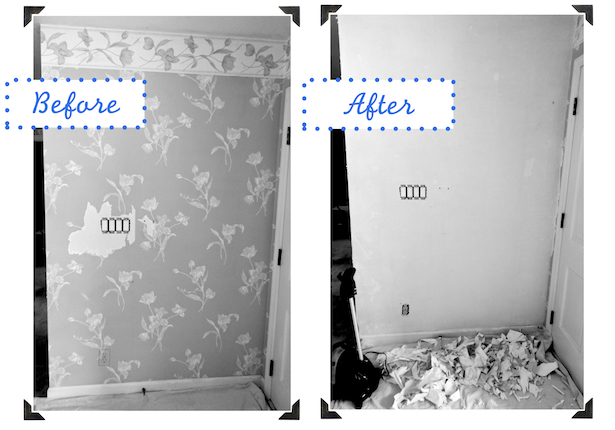
This wall has been liberated only 16 more to go!
Hi there! I'm Katherine...

the curator, writer in residence, and decorator behind Pender & Peony.
I’ve decorated my entire 1960s brick colonial with secondhand finds and antiques on a budget without sacrificing style, quality, or comfort.
You CAN have a traditional home with timeless charm on a budget too!
The problem isn't your taste -- it's an industry that glorifies the next big trend and only showcases high end custom design.
That's why I created The Collected Room Method to teach you my approach to the collected interior!