
The Gratitude Tree – November Tradition & Craft
Sharing our new November tradition with this gratitude tree perfect for Thanksgiving decorations and celebrating our blessings!


Do you have a meaningful gratitude tradition for November?
Well, we didn't and with our very special blessing this year I decided it was time to start one.
Introducing...
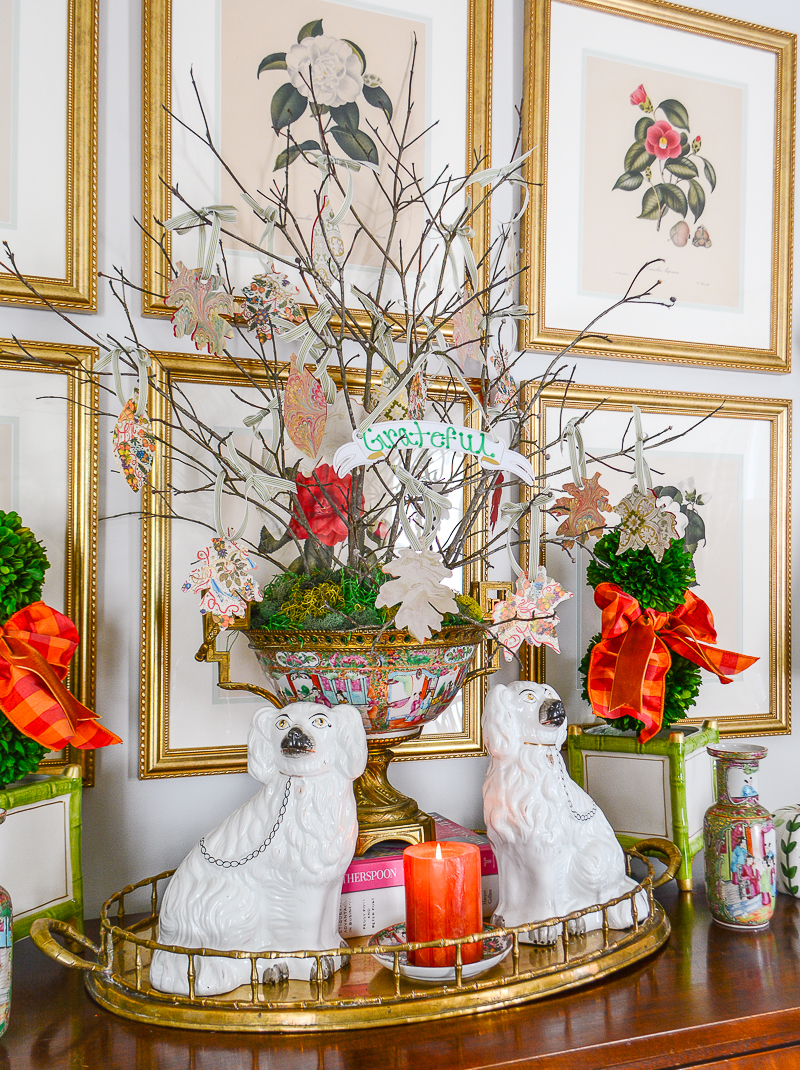
The Gratitude Tree
Collected branches from the yard;
Gorgeous Italian papers marbled and foiled;
Handmade leaves;
And thoughts on the best blessings of the year!
It's a record book, November decoration, and gratitude tradition in one!
Here's how I made the leaves and put this gratitude tree together...
To Make Your Own Gratitude Tree
Materials
3-4 Sheets of special paper like hand marbled or Italian floral
Pre-cut leaves on colored paper - mine are from Paper Source, another good option here
Scissors
Glue - Mod Podge or glue stick
Pencil & Pen
Hole punch
Ribbon - cut to 18 inch lengths, I used green striped ribbon from May Arts
Tree branches or Manzanita branches/tree
Compote or cachepot - here is a great ironstone compote that would work perfectly
Reindeer moss and Spanish moss
To Make Your Tree
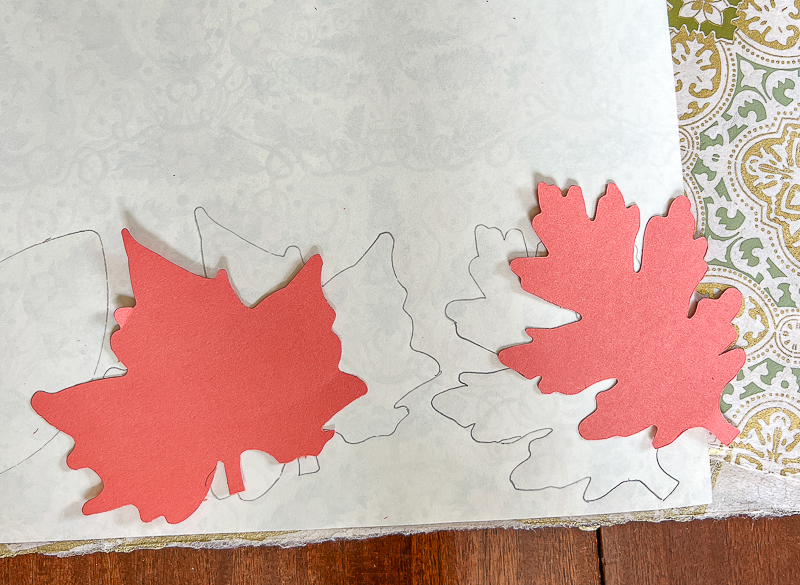
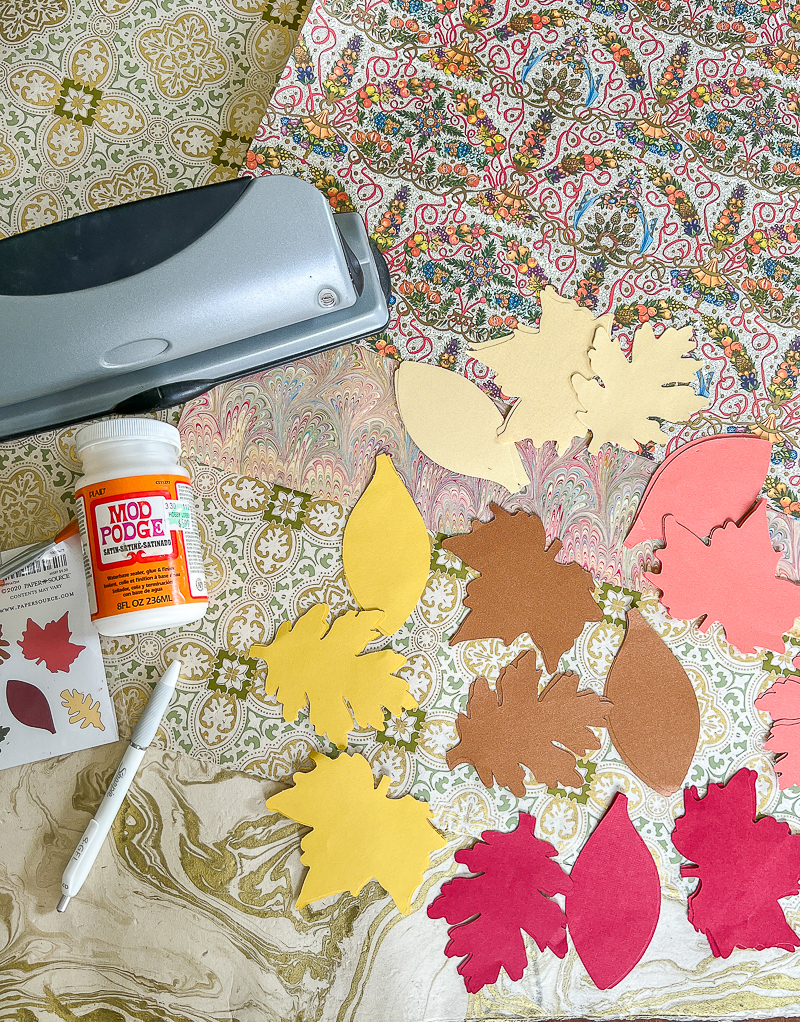
Step One - Trace Leaves on Special Paper
I used the pre-cut leaf templates to trace the different leaf types on to my special Italian papers with a pencil, so I could erase stray marks.


Step Two - Cut Out leaves
I choose four different special papers to decorate the front of my leaves, including marbled and Italian florals. I wanted the backs to be solid so they were easy to write on and read.
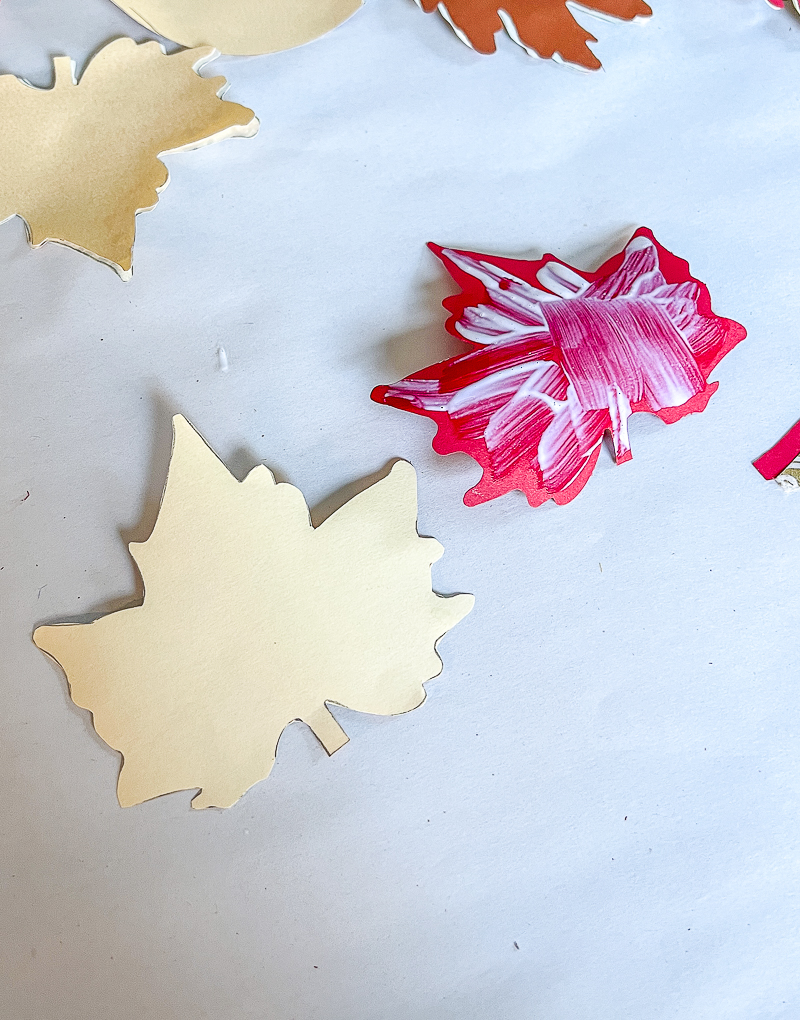
Step Three - Glue Template Leaves to Special Paper Leaves
Brush Mod Podge on leaf backs to glue leaf template and special paper leaf together. Make sure you put the glue on the right side of the leaf so the leaves are turned right.
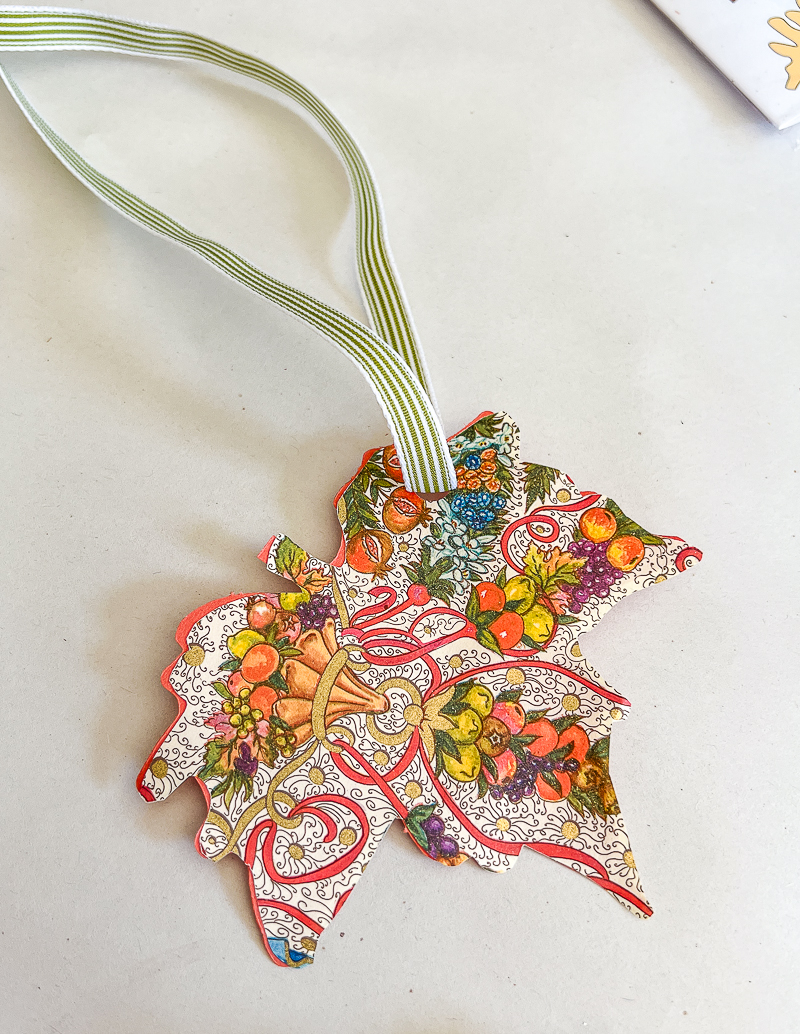
Step Four - Punch Hole & Tie Ribbon
Punch a hole in the leaf corner and thread ribbon through hole. Tie a bow at top of ribbon to hang on tree.
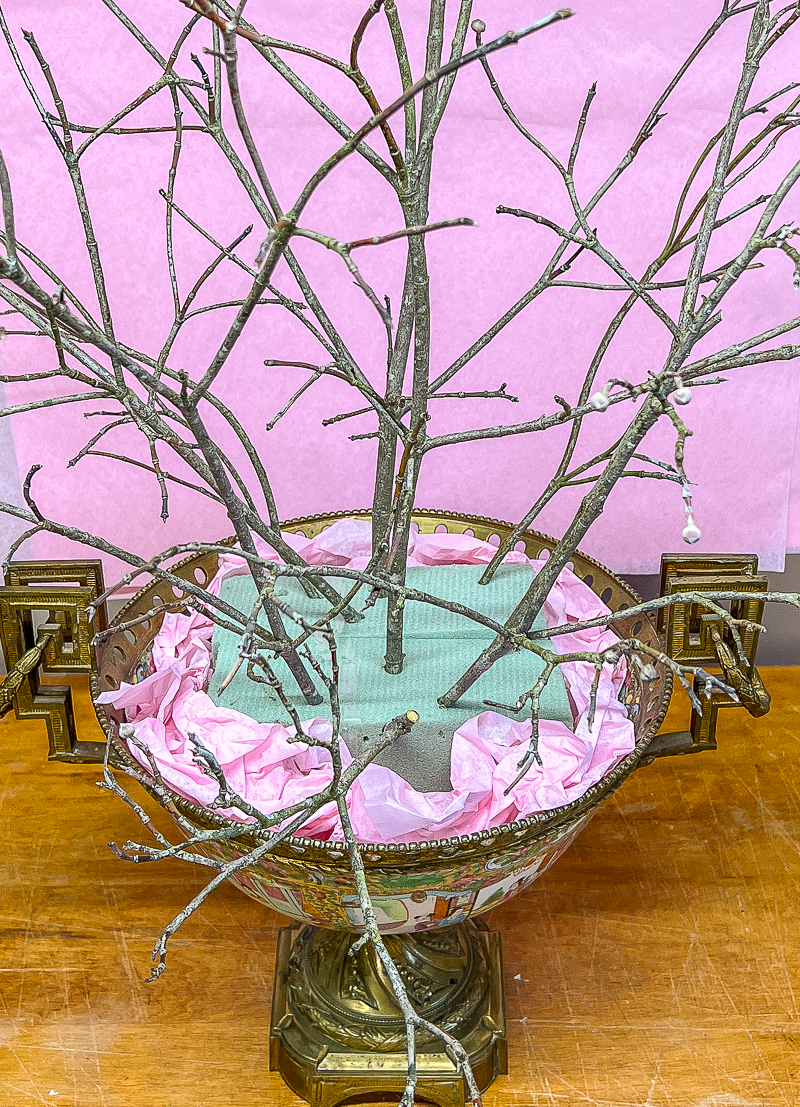
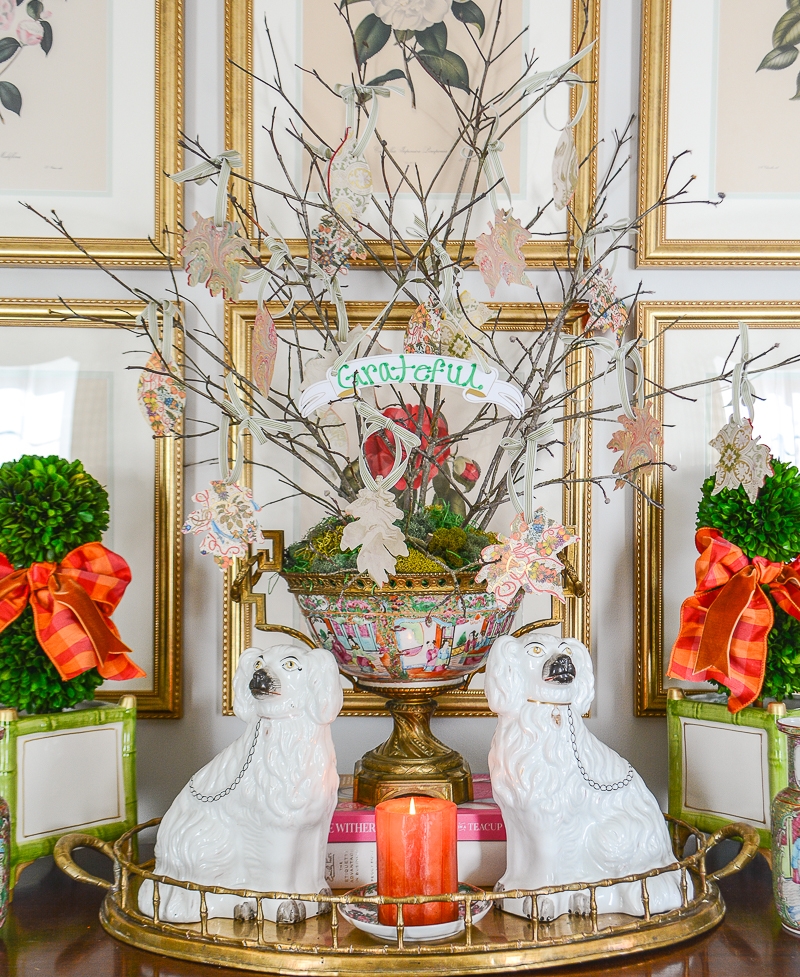
Step Five - Place Floral Foam in Pot & Secure Branches
I simply snipped some branches from one of our dogwood trees for this craft. Fill pot with floral foam and tree branches to form base of gratitude tree. I lined my bowl with tissue paper so that nothing scratched my antique ormolu Rose Medallion bowl.
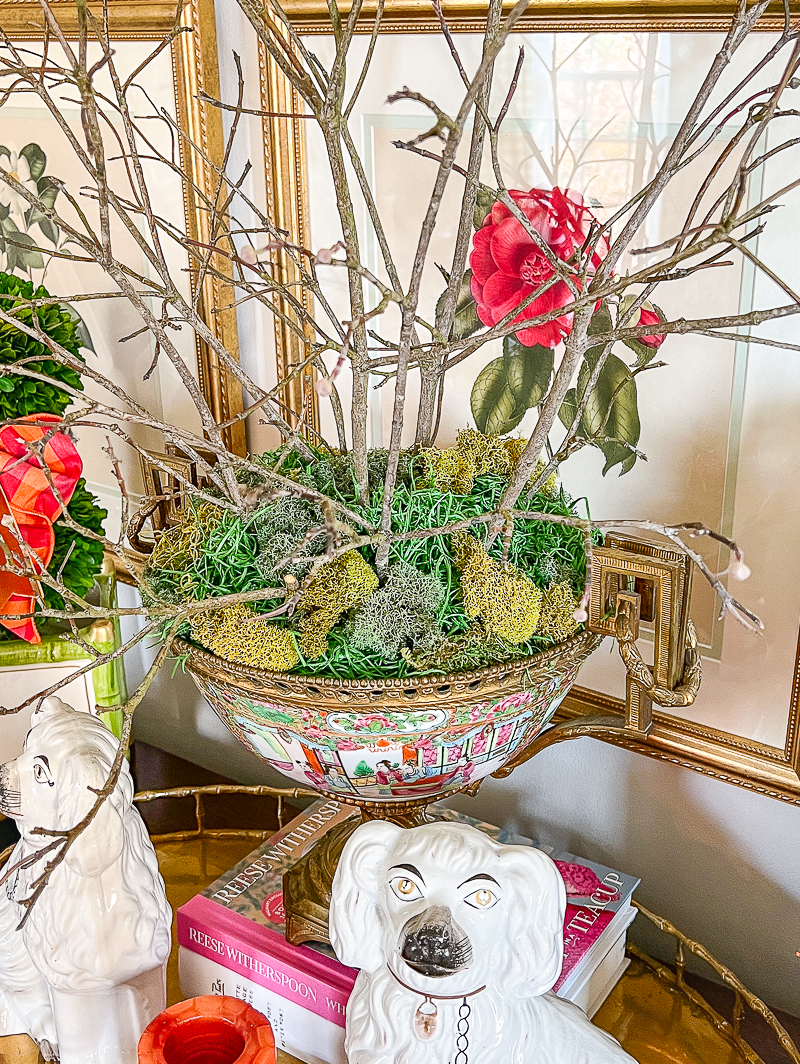
Step Six - Cover Foam with Moss
Cover top of foam with reindeer and Spanish moss
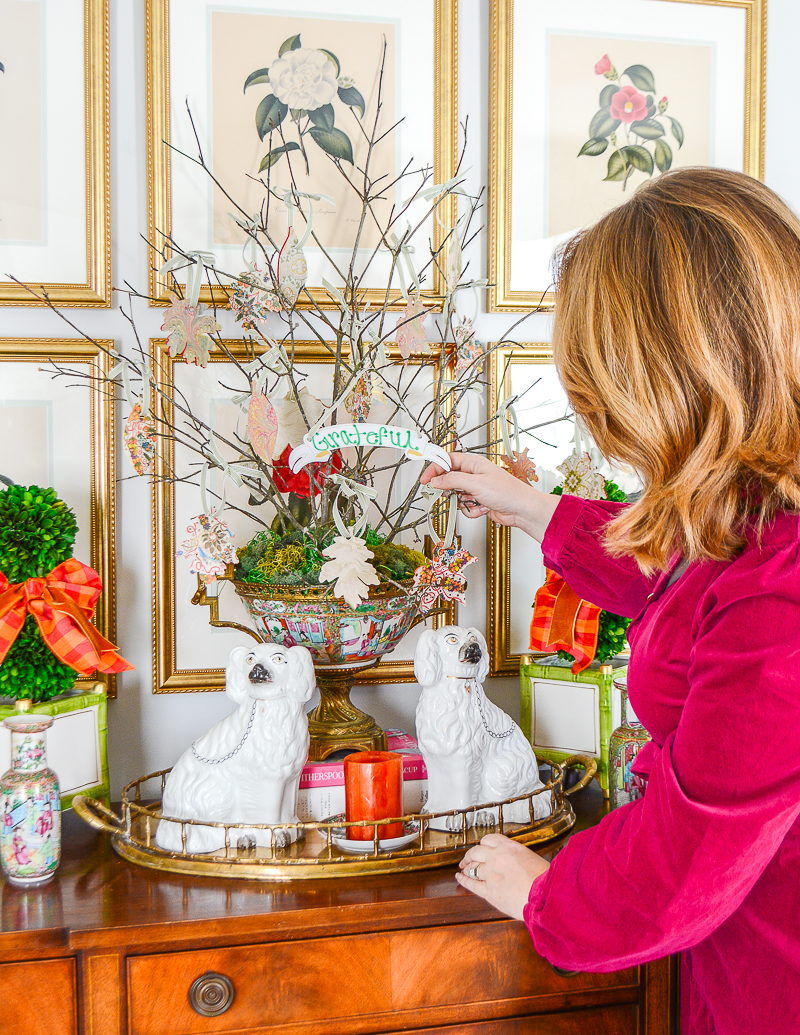
Step Seven - Write Gratitude Messages on Leaves
My husband and I are each writing a few of the blessings we are most grateful for this year on the leaves. Then next year we will fill out new leaves. You could make this a fun gratitude activity for your kids or when guests come over for a dinner party.
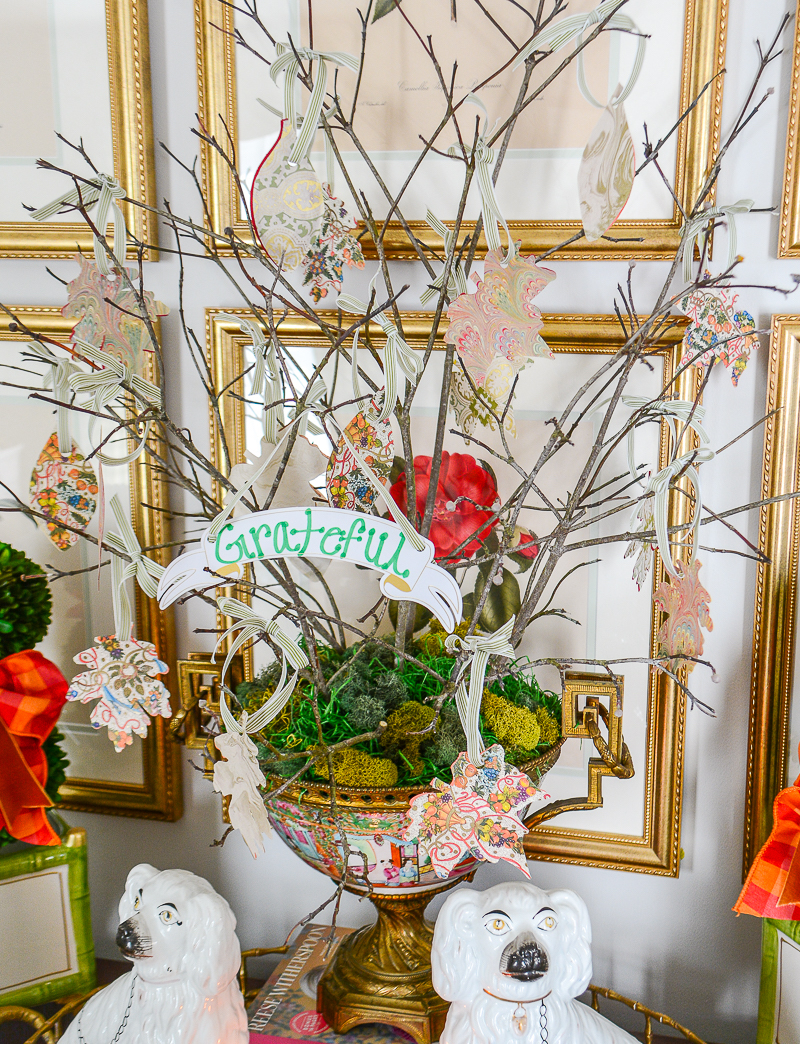
Step Eight - Hang Leaves on Branches
I made enough leaves for the next few years, so S. and I can fill them out each November. But I decorated the tree with about half the leaves I made.
The gratitude tree really makes a statement on the sideboard in our living room. You could create a smaller version for a table centerpiece at Thanksgiving or put in the middle of your entry table for a November decoration.
I adore the soft colored papers I choose, and I hope this new November tradition helps us celebrate our blessings each year.

The blessing I'm most grateful for this year...
Our miracle IVF baby and the chance to be his mother!


Hi there! I'm Katherine...

the curator, writer in residence, and decorator behind Pender & Peony.
I’ve decorated my entire 1960s brick colonial with secondhand finds and antiques on a budget without sacrificing style, quality, or comfort.
You CAN have a traditional home with timeless charm on a budget too!
The problem isn't your taste -- it's an industry that glorifies the next big trend and only showcases high end custom design.
That's why I created The Collected Room Method to teach you my approach to the collected interior!