
Williamsburg Fruit Topiary DIY
Apples, pinecones, boxwood, and orange pomanders create a gorgeous Williamsburg fruit topiary DIY for a gorgeous, traditional holiday table! Learn how to make a festive fruit centerpiece in this post.
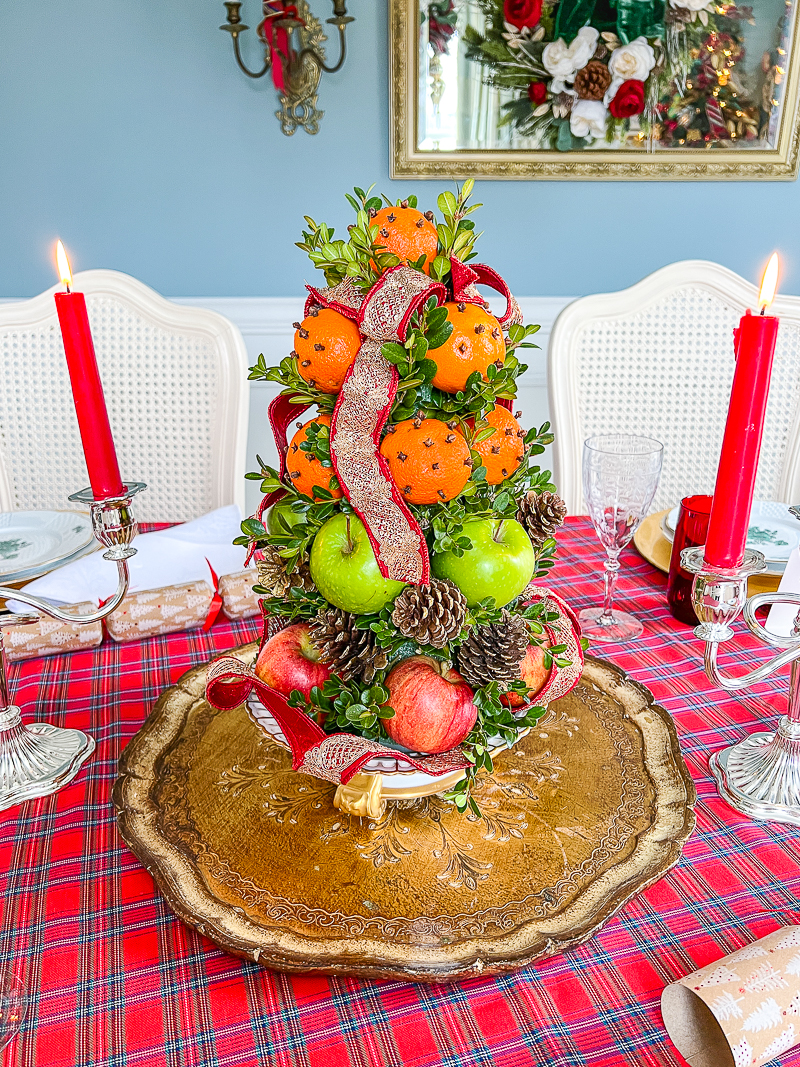
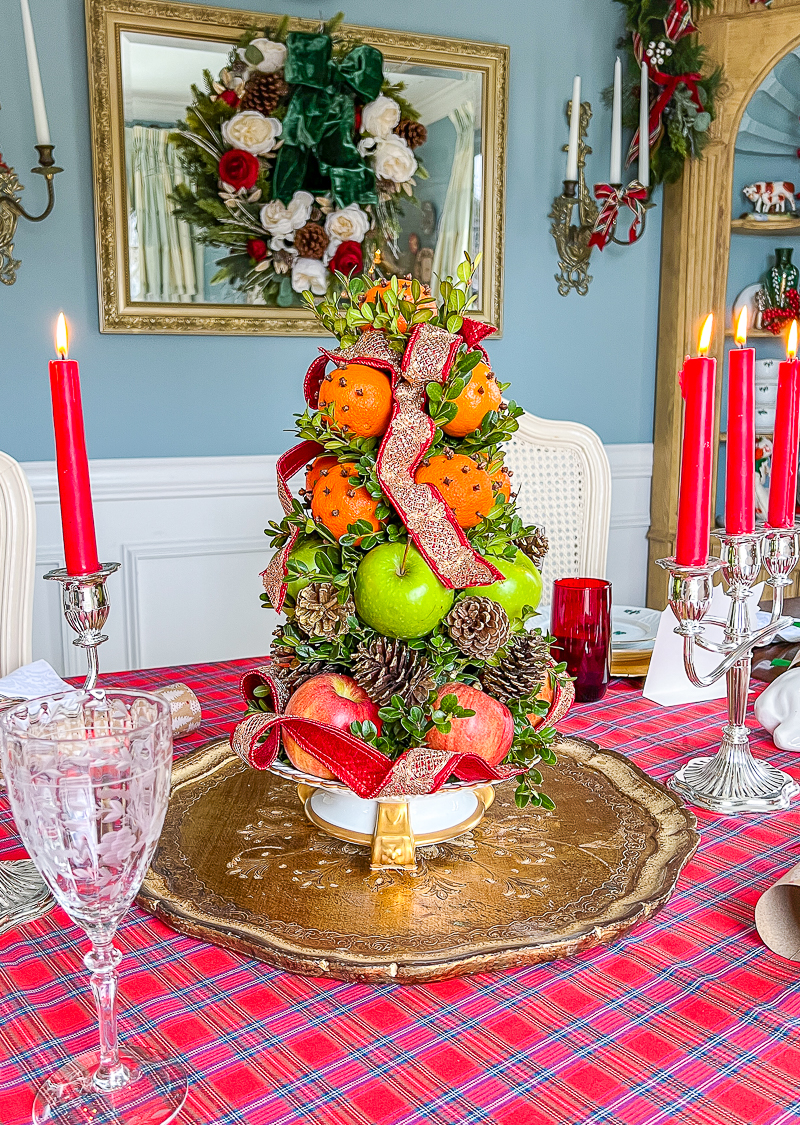
There is something so enticing and abundant about a fruit topiary inspired by Colonial Williamsburg Christmas decor. The clove studded oranges give off the most delicious scent, and the lush apples surrounded by green boxwood add stunning color.
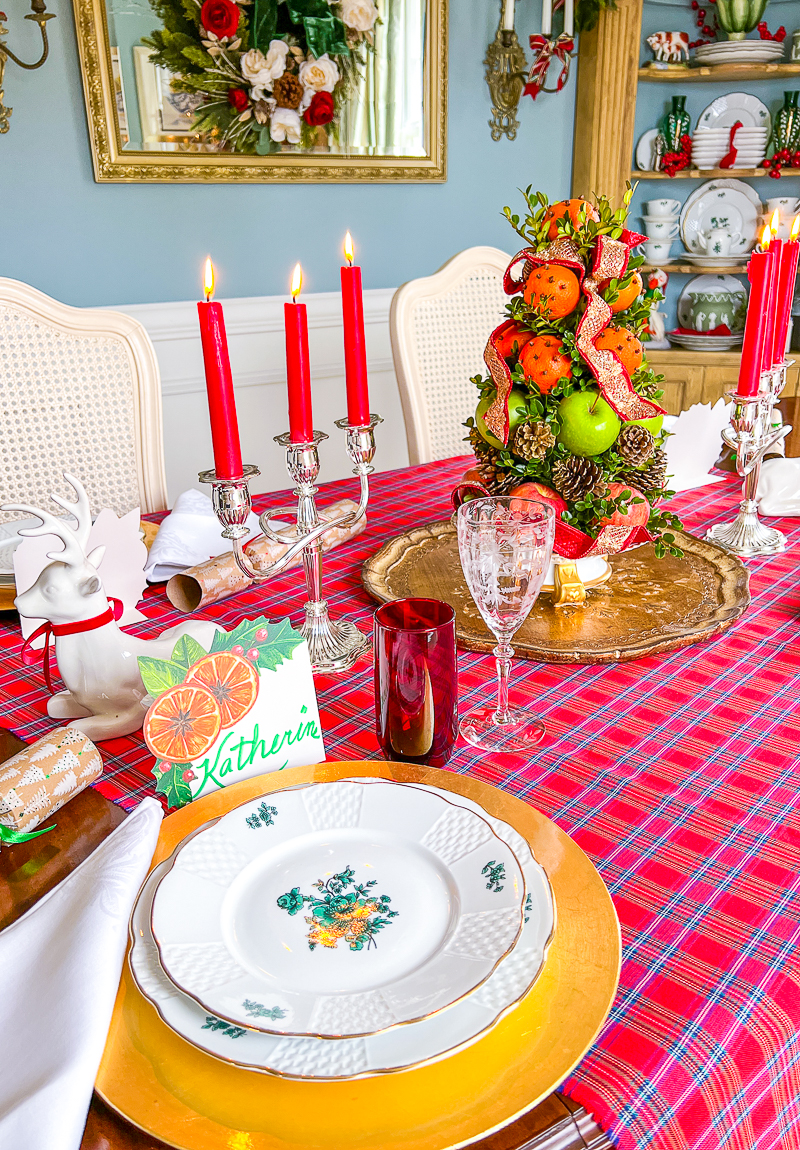
Finish your holiday tablescape with this unique centerpiece idea that recalls an old fashioned Christmas perfect for traditional tables filled with charming china and beckoning guests to linger and enjoy!
Read about the history of Williamsburg Christmas decor and Christmas during colonial times in this post.
In this post, I'm sharing how I quickly put together this Williamsburg fruit topiary DIY with a few basic materials that you can easily get from your grocery and back yard.
Materials to Make This Williamsburg Fruit Topiary DIY
1 FloraFōm Cone 3.8 x 11.9 Inch
2-3 Inch Green Wired Wooden Picks
Wire Cutters
Clippers
2 Bunches Boxwood or Other Fresh Greenery with Small Leaves
9 Mandarin Oranges
5 Small Green Apples
5 Small Red Apples
12 Small Pinecones - Spray painted gold if desired
1.5 Inch Wired Ribbon - Similar here and here
A Cake Stand or Flat/Shallow Compote - See selections below!

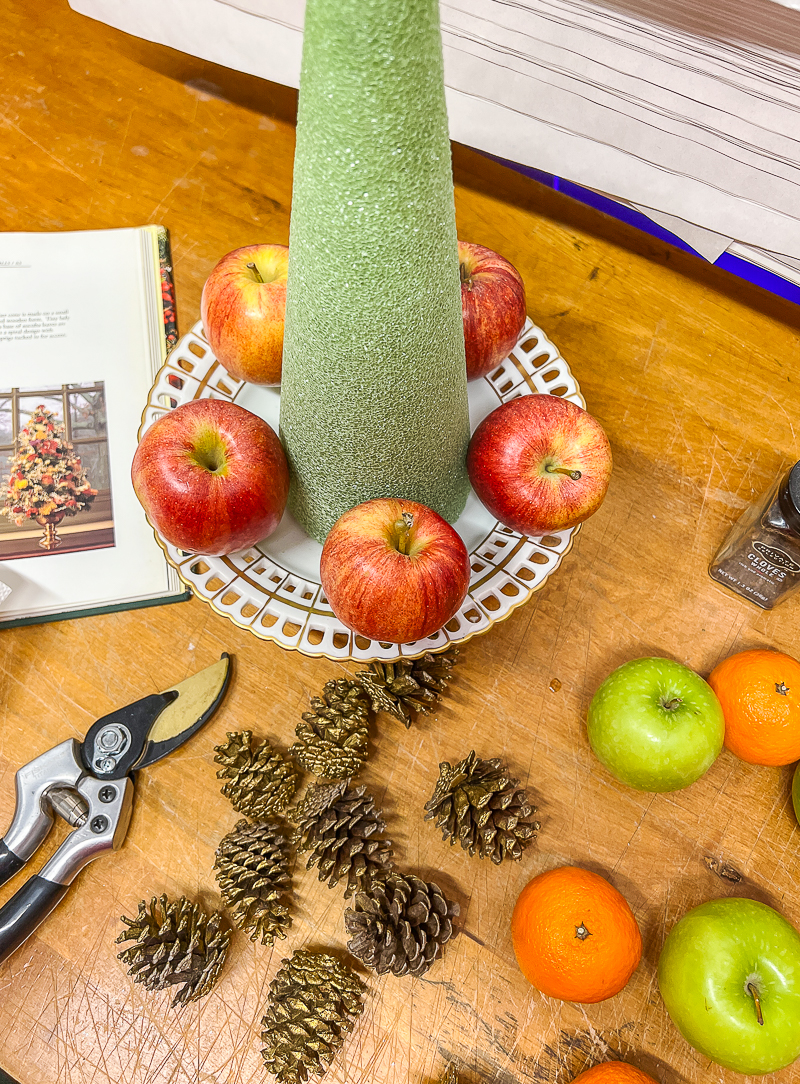
Prepping Your Materials
Once you've gathered your materials together you can do a few things to prep for the assembly that will make everything go faster:
- Clip the wire off of the wooden picks to use with the apples and oranges. You will need 19 picks without wire.
- Clip your boxwood into 3 -4 inch long pieces.
- Wire the picks to your pinecones by gently wrapping the wire into the first channel between scales.

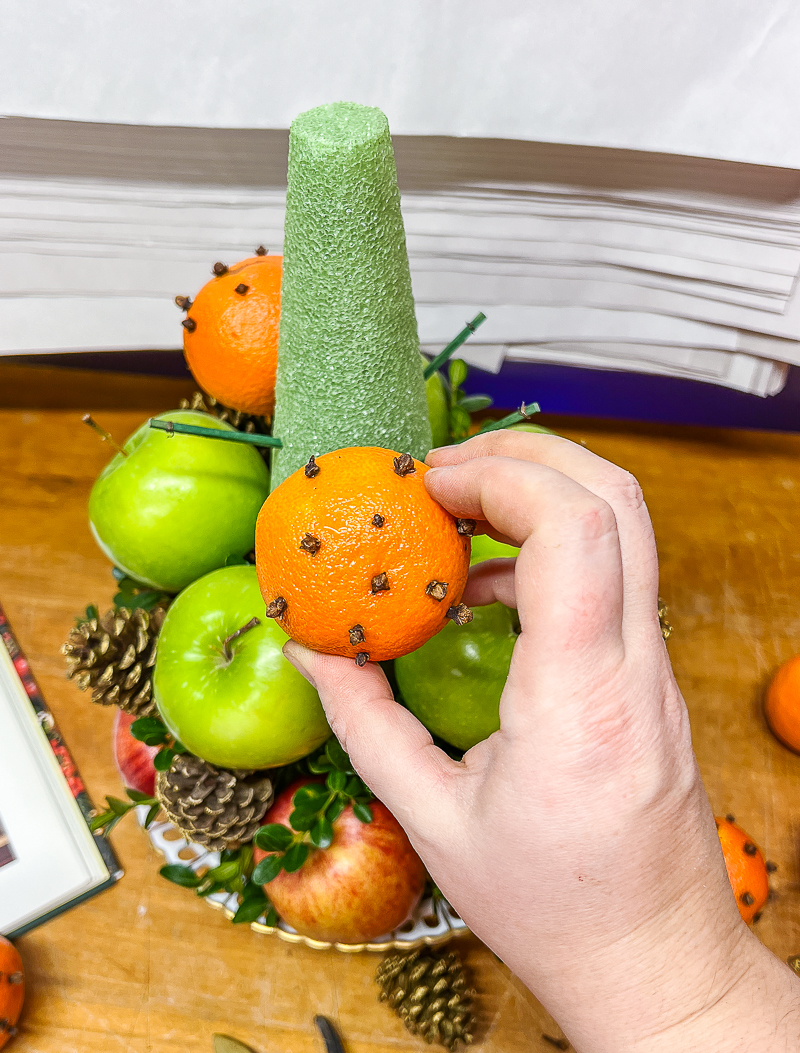
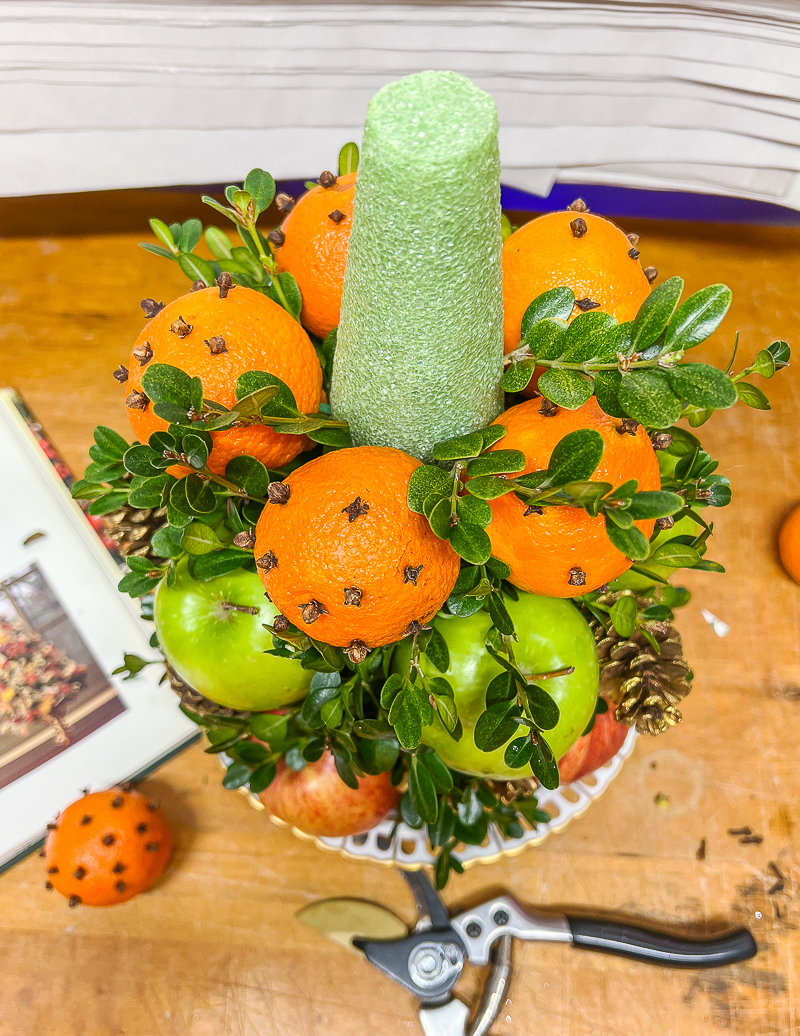
- Prep the mandarin oranges by adding the cloves. I only did the top half that would show. It is easier if you first poke holes where the cloves will go using the end of one of your wooden picks.

Assemble Your Williamsburg Fruit Topiary
Step One
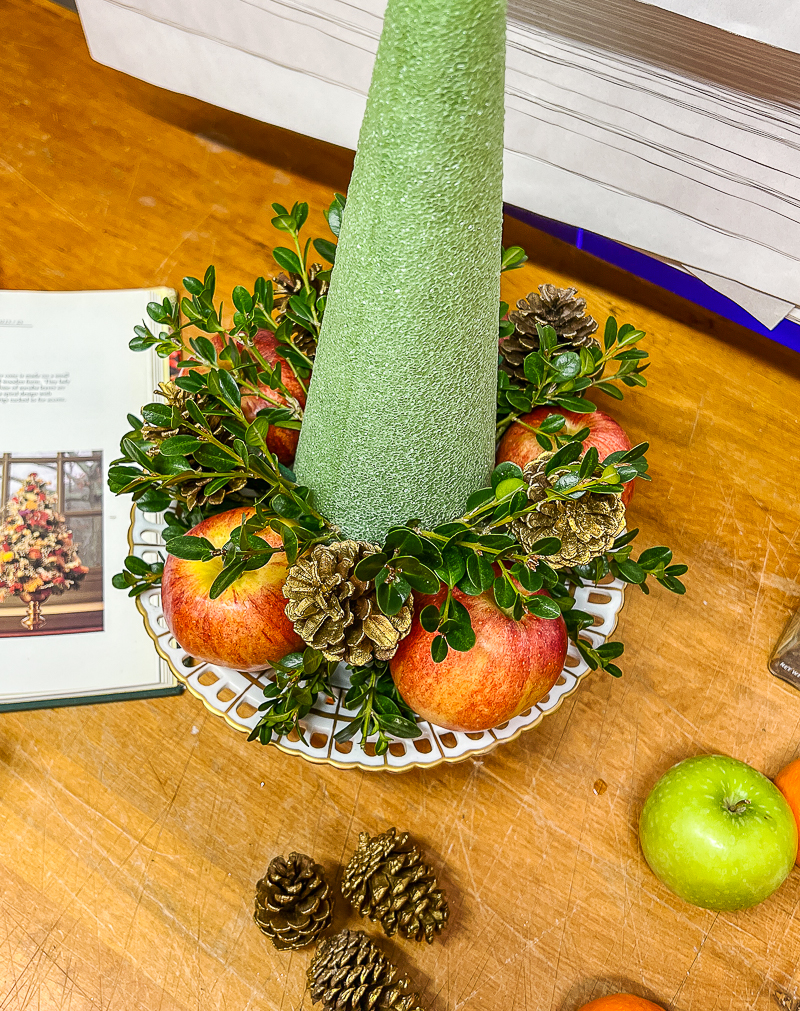
Start to assemble your fruit topiary starting at the bottom and working up. My first layer was the red apples, which I evenly spaced around the base of the foam cone. I built my cone on this footed compote, and the slightly upturned rim helped hold the apples in place.
Push the blunt end of the wooden pick into the side or bottom of the apple, depending on if you want the stem top to show. Then push the pointed end of the pick into the cone.
Next add the boxwood clippings in the spaces between the apples and above.

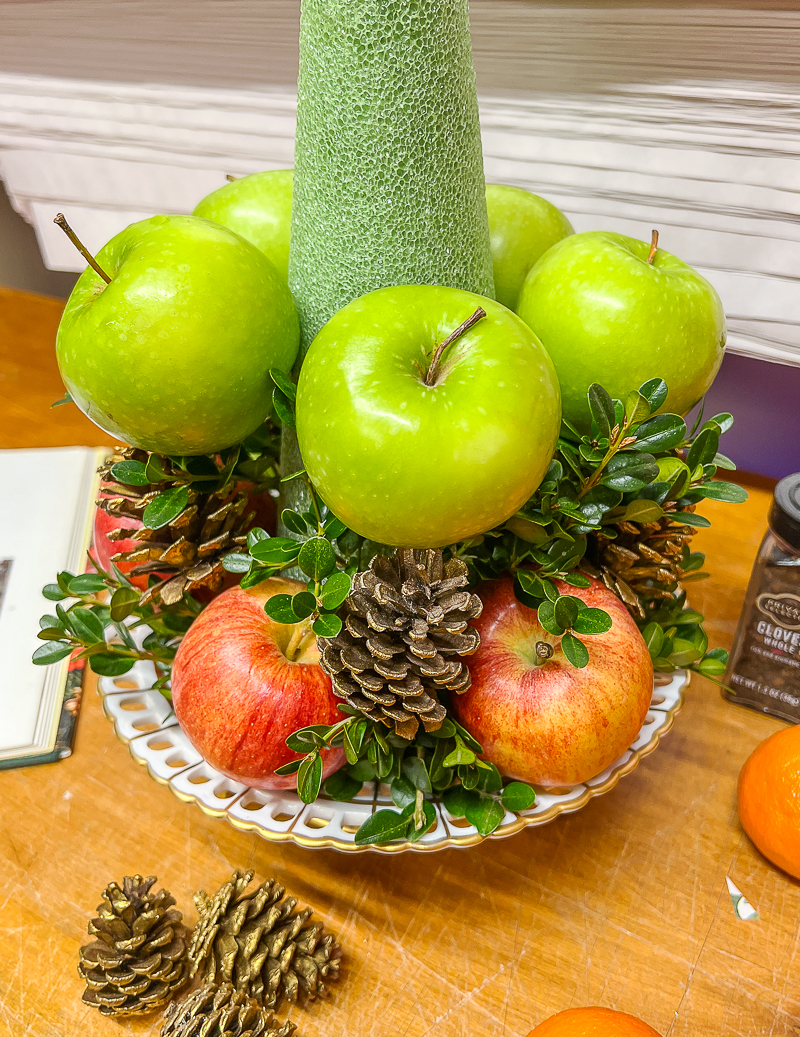
Step Two
Now you are ready to add in a layer of pinecones. Place these above the spaces in between each red apple. Gently push the pick into the foam. It is best to push on the wooden pick and note the pinecone as it will break under force.
Then add another layer of boxwood.
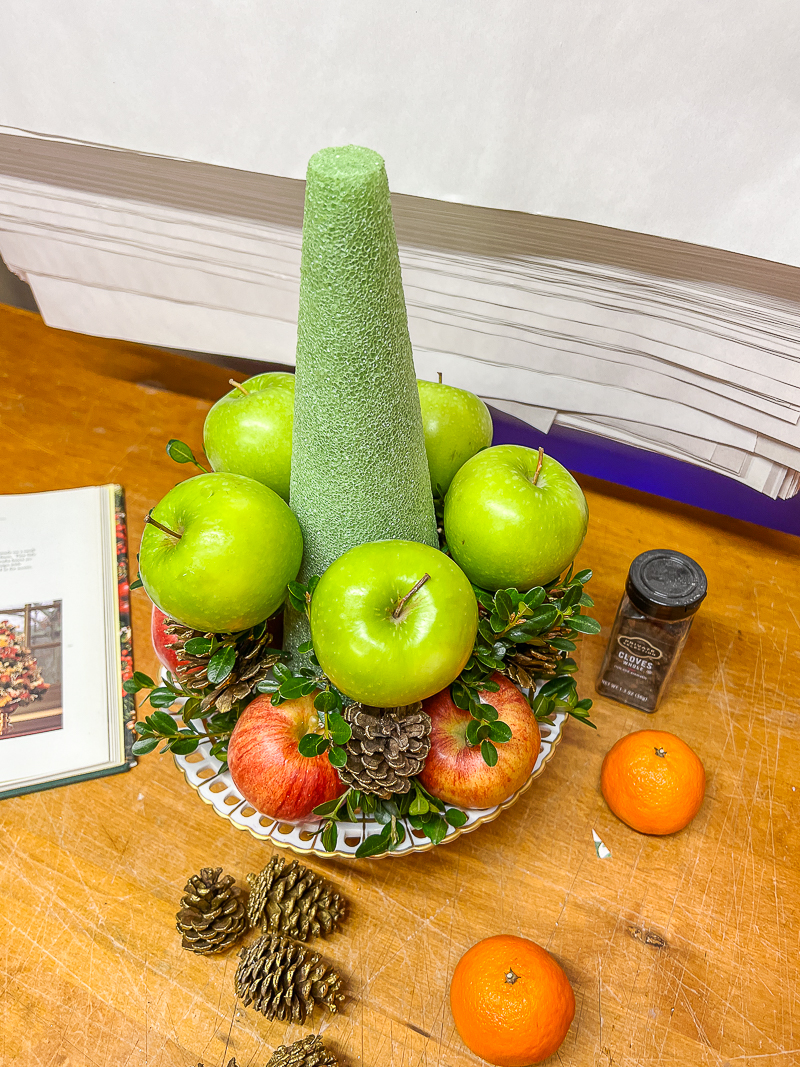
Step Three
The next layer is your green apples. Repeat the same technique you used with the red apples. I offset my green apples so the were above the pinecones but in between the red apples with the stems slightly turned out.
Fill in with boxwood and pinecones.

Step Four
Now you are ready to add the orange pomander layer. You can put the picks in the pomanders first or add them to the foam first and then push the pomanders on.
Use one of the pomanders for the top.
Fill in with boxwood.
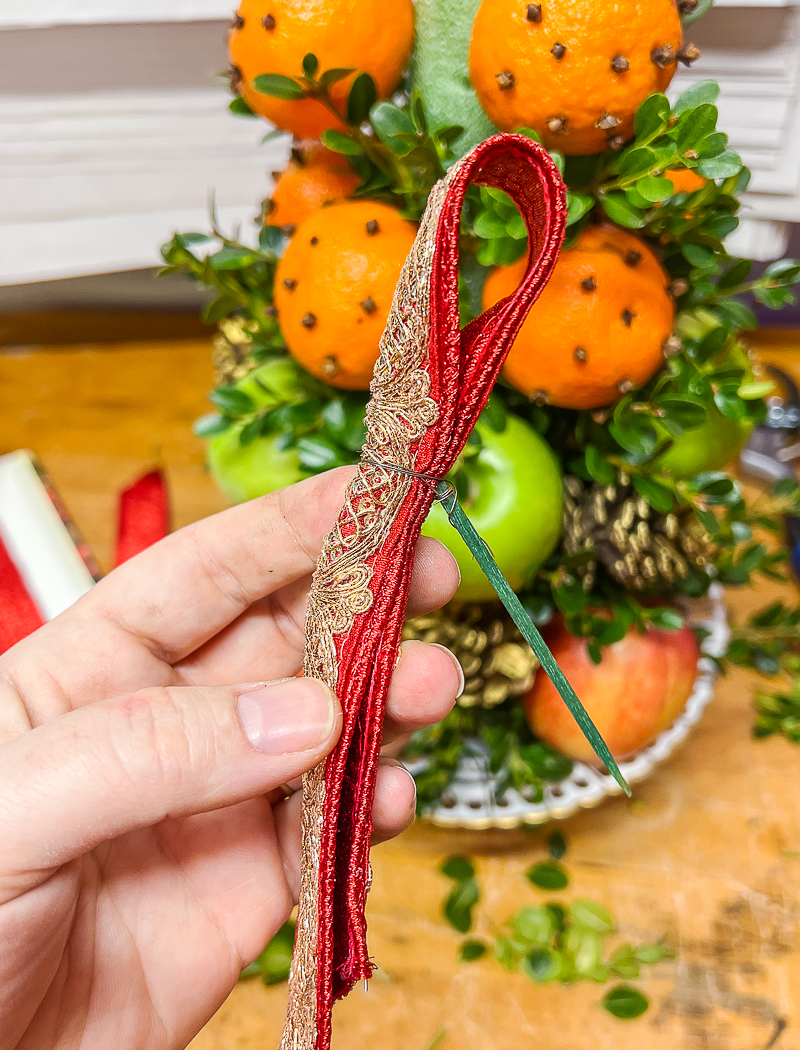
Step Five
Add the ribbon streamers. Make a single loop tuft by pinching ribbon into a loop using wired wooden pick to secure.
Push the wire into the foam cone just down from the top pomander to fill in the remaining space between the pomanders. Curve the tails up and down to look pretty.
Fill in with boxwood as needed.
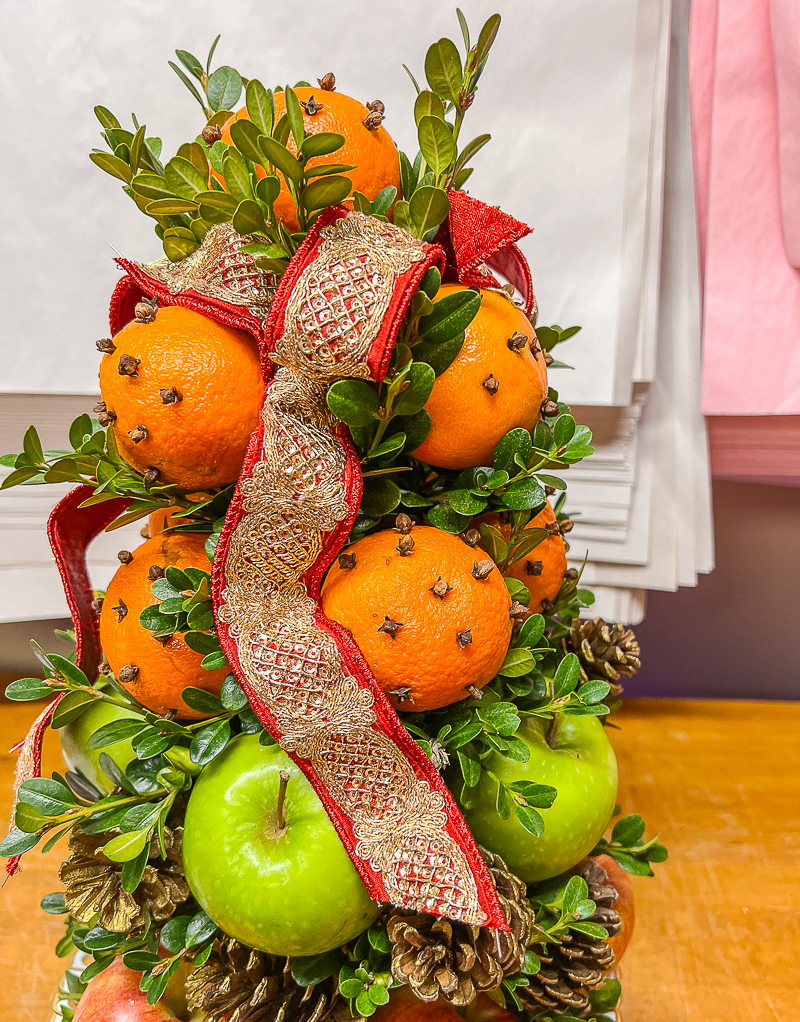
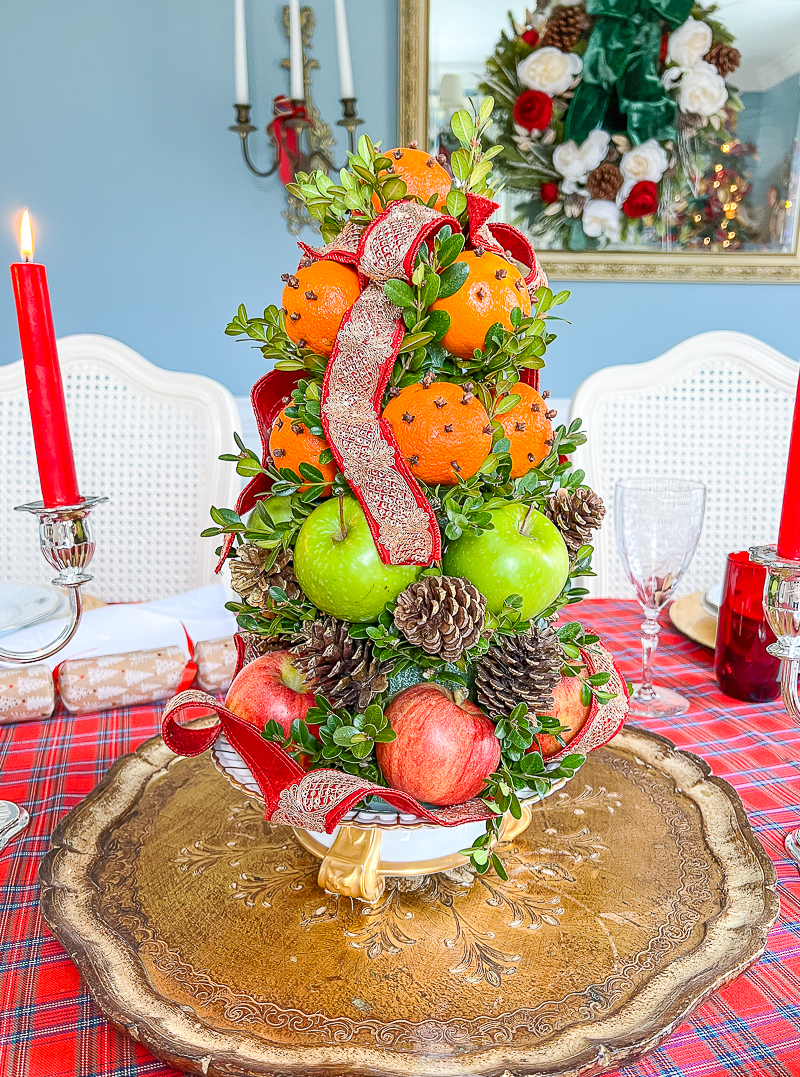
And voila...you have a gorgeous Williamsburg fruit topiary ready to grace your holiday tables. I made mine Christmas Day, and 5 days later it still looks and smells lovely! See the rest of my Williamsburg inspired Christmas decor here!
Read about the history of Williamsburg Christmas decor here.
The compote I used as a stand to display the topiary is from Vista Alegre. Here are a couple of beautiful options:

Hi there! I'm Katherine...

the curator, writer in residence, and decorator behind Pender & Peony.
I’ve decorated my entire 1960s brick colonial with secondhand finds and antiques on a budget without sacrificing style, quality, or comfort.
You CAN have a traditional home with timeless charm on a budget too!
The problem isn't your taste -- it's an industry that glorifies the next big trend and only showcases high end custom design.
That's why I created The Collected Room Method to teach you my approach to the collected interior!
The fruit topiary is beautiful!
Thanks so much Bonnie! It smelled amazing too!
How long will this last?
Mine lasted about a week and a half. I’m sure it will depend on how ripe the fruit was when you started working with it. You could probably sprinkle fruit fresh around the holes that you puncture to keep that preserved longer. If your house is particularly hot, then I’m sure it won’t last as long.