
A Botanical Gallery Wall in the Living Room
Amping up the grandmillennial style in my living room with a botanical gallery wall using antique camellia engravings and gold Granby frames from Frame It Easy!
Read on for the before and after photos and tips to mat and frame valuable prints.
Penderandpeony.com uses affiliate links. Products gifted by Frame It Easy in exchange for my honest review.
Everything's coming up camellias!
These gorgeous prints have been languishing in a closet for more than a year while I hunted for the perfect frame and tried to figure out where to put them. The first stumbling block was solved when I discovered Frame It Easy's gold Granby frame. The second obstacle resolved when I moved the landscape painting to the family room, which opened up the perfect space for my collection of antique camellia engravings!
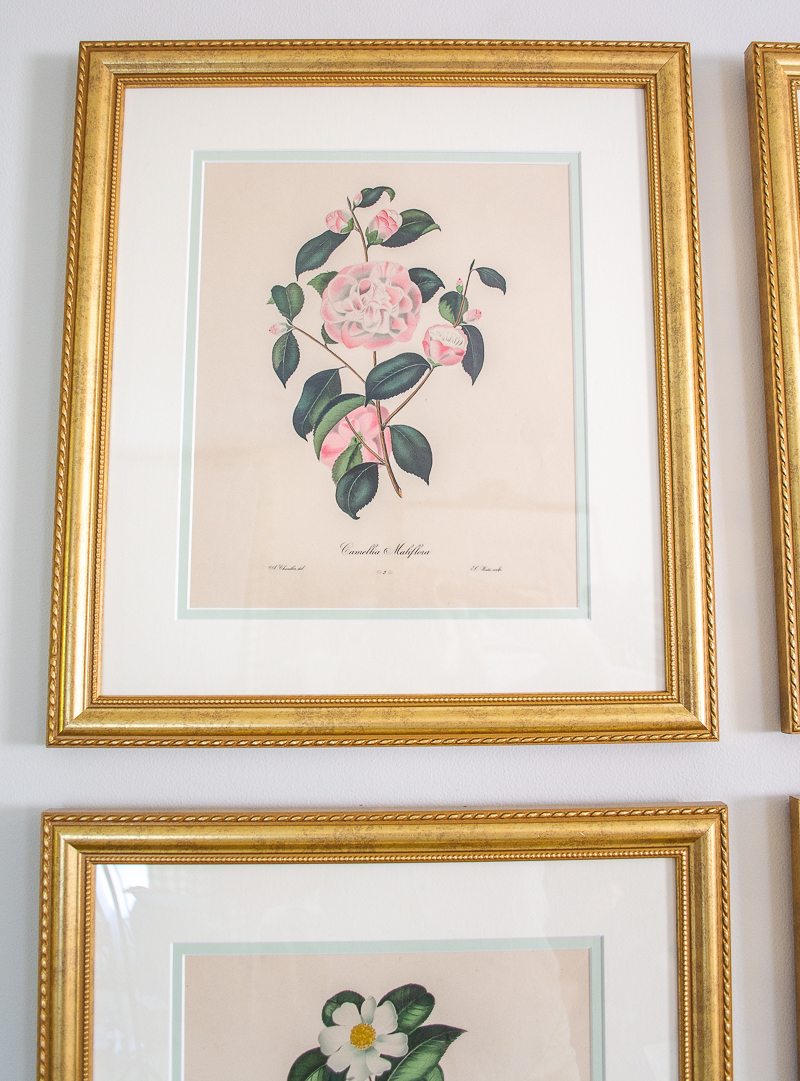
The engravings depict different types of camellias after the botanical drawings of Alfred Chandler and were printed in 1831 as part of a larger botanical study on camellias titled:
Illustrations and Descriptions of the plants which compose the natural order Camellieae, and of the varieties of Cammellia Japonica
By William Chandler Booth (1804?-1847) & Alfred Chandler (1804-1896)


The complete botanical study includes 40 engravings, and I found several at an estate sale last summer. For my botanical gallery wall, I chose to frame and display my six favorite.
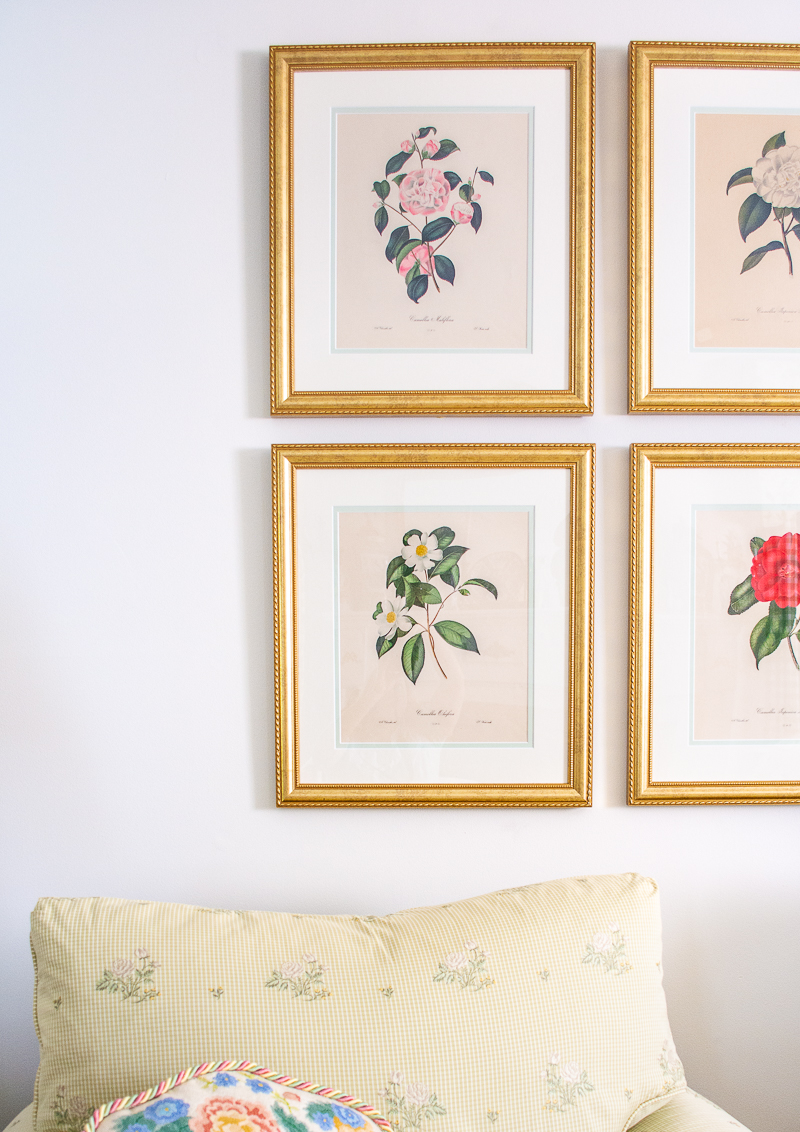
I'm so in love with how the camellias look in these gold frames with the double mat. I knew I wanted a classic gold frame that had special detailing to amp up the traditional vibes, and the Granby frame is perfection with the rope outer border and beaded inner border. I was also looking for a framer that offered double mats at a reasonable price.
Frame It Easy totally came to the rescue with both style and affordability!
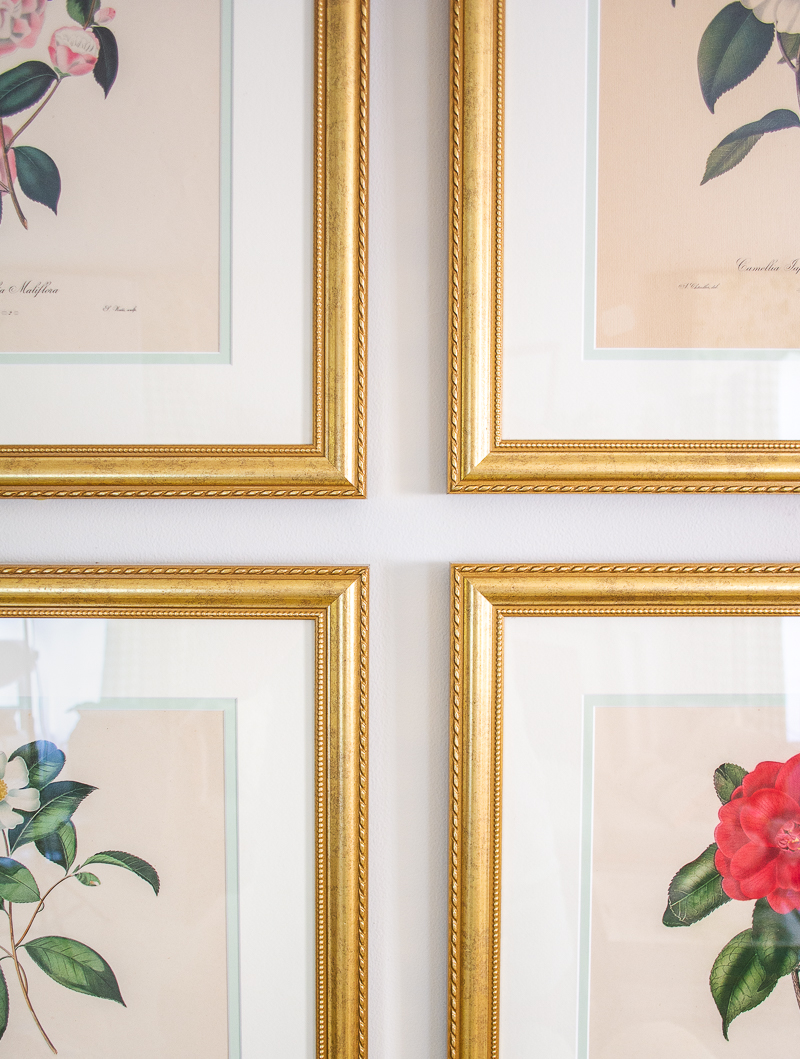
I was excited about the variety of color options they offered for mats. I chose the antique white for the outer mat and honeydew for the inner. Adding this extra hint of green helps tie the engravings to the rest of the pale greens in my room.
This space is all about grandmillennial style, and the floral prints arranged in a three over three grid really play up the grandmillennial look in my living room. The engravings feel traditional and feminine, and they make the right statement on this wall. Just take a look...
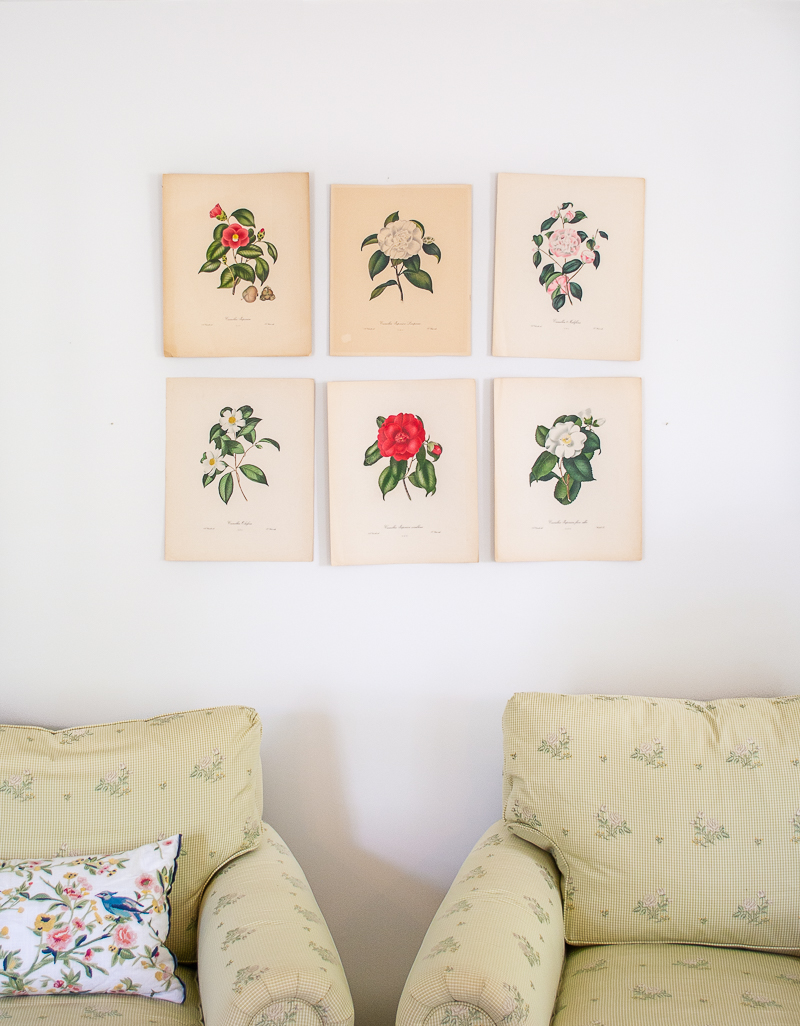
Before & After


Planning
To decide on the arrangement and spacing of the prints, I used painter's tape to place the engravings on the wall and create the three over three grid. This also allowed me to play with the placement of each camellia and decide on which colors went where. You do have to be very careful when doing this -- even painter's tape can tear the paper apart if not carefully removed.
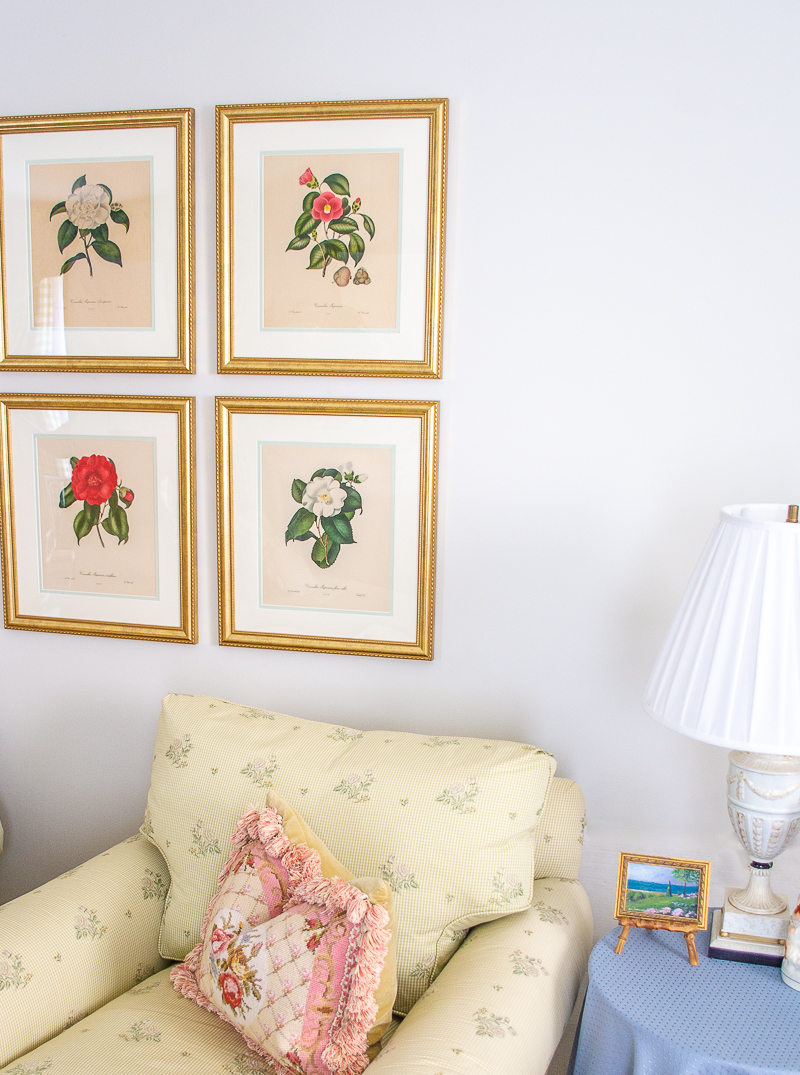
My Botanical Gallery Wall with Camellia Engravings
I adore the warmth the colors in the prints and the gold of the frames add to the space. The size of the grid is so much more proportional to the size of these overstuffed arm chairs. Importantly, the space feels more balanced overall because the gallery with the gold frames beautifully echos the opposite wall where a large French gold mirror sits above the mantel.
My tips to hang a grid gallery wall are in this post!


Tips for Matting & Framing Valuable Prints
Considerations for archival stability:
- Acid free materials - matting, backing board, tape
- UV protective glaze
Notes on ordering your frames and mats:
- Frame It Easy makes it simple to customize your frame and mat size.
- Carefully measure the size of the sheet of paper your print is on. This will tell you the minimum size frame you need.
- Then measure the print or plate size. This is the area with the image you want to show inside the mat.
- You can then customize how wide you want the mat area around your print. Frame It Easy will automatically then increase the size of the frame you need based on this.
Steps to Frame:
Watch my complete video tutorial over on Instagram
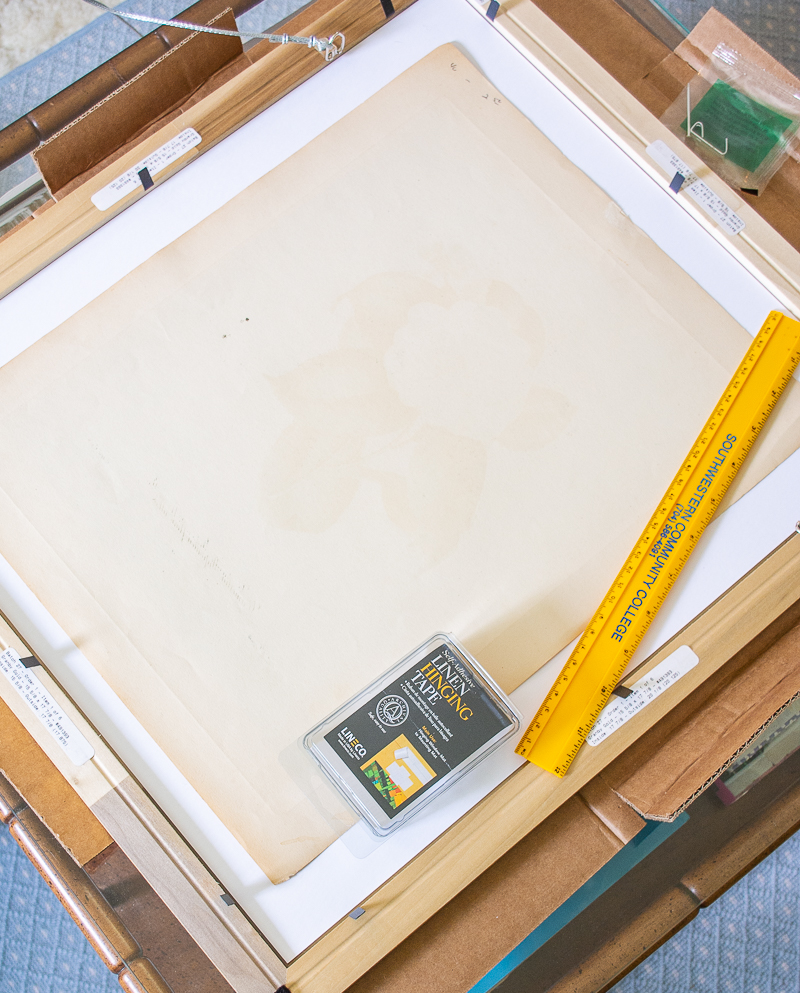
No. 1 Work on a clean flat surface and gather your materials: frame, mats, ruler, archival tape like Lineco.
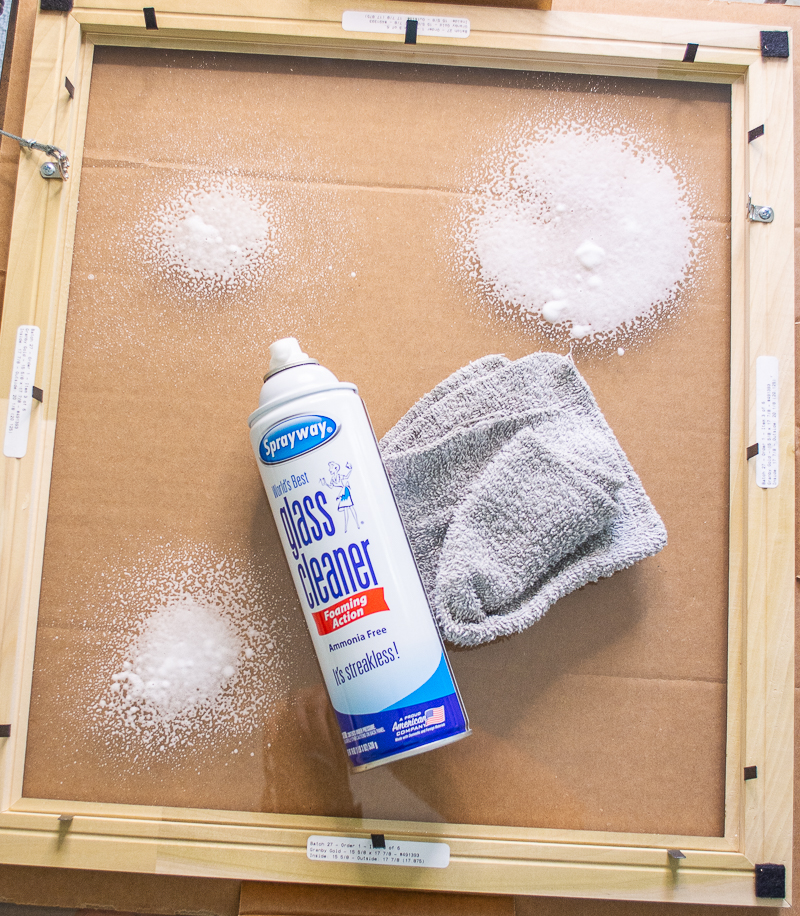
No. 2 Clean the interior of the glaze and frame well and blow out any debris.
If the glaze is plexi, be sure to use an ammonia free glass cleaner otherwise you may create a filmy haze on it that won't be removable.
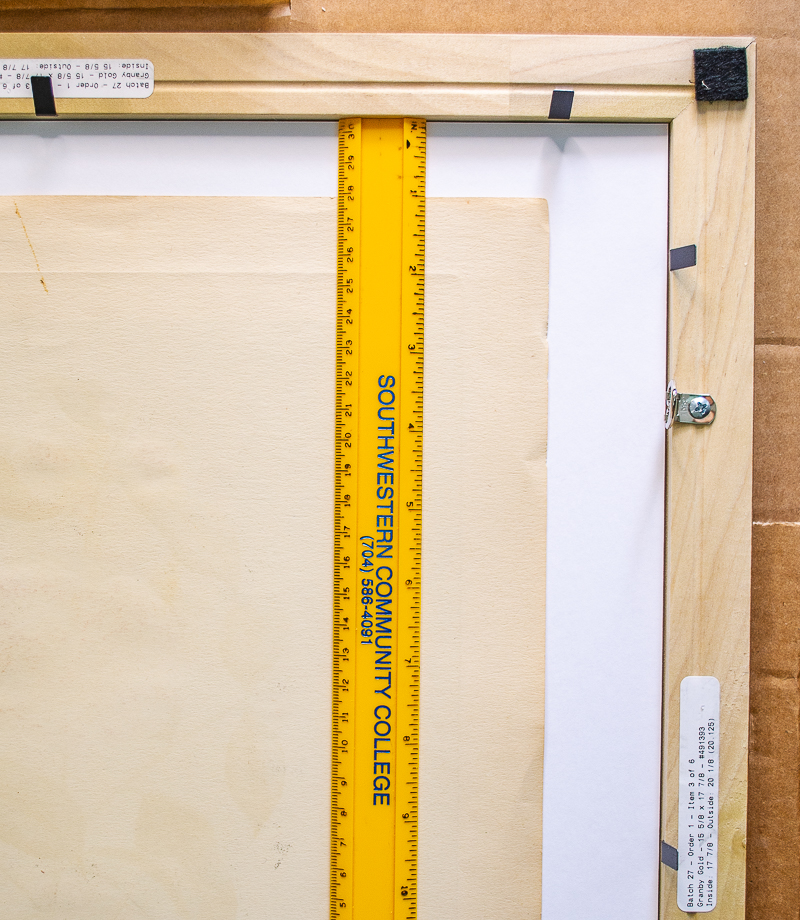
No. 3 Using a ruler position print in center of mat opening.
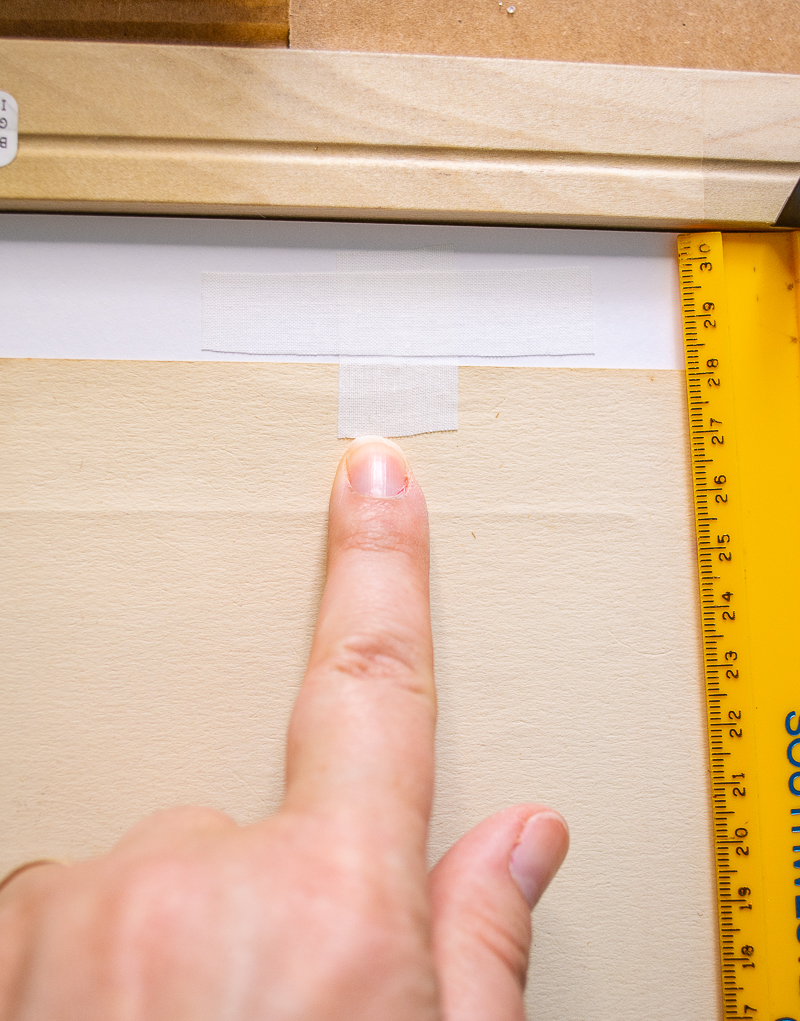
No. 4 Create a "T" shaped hinge to secure print to mat using two strips of acid free tape.
No. 5 Double check front for any debris inside before closing frame with backing board.
Voila! A beautifully matted and framed work of art!
I could not be more thrilled with how my botanical gallery wall came together. From the gorgeous gold frames to the vivid engravings of camellias, I think this display is perfect for my grandmillennial living room!
Hi there! I'm Katherine...

the curator, writer in residence, and decorator behind Pender & Peony.
I’ve decorated my entire 1960s brick colonial with secondhand finds and antiques on a budget without sacrificing style, quality, or comfort.
You CAN have a traditional home with timeless charm on a budget too!
The problem isn't your taste -- it's an industry that glorifies the next big trend and only showcases high end custom design.
That's why I created The Collected Room Method to teach you my approach to the collected interior!
Simply stunning! You’ll enjoy those for many years to come.
Thanks Connie! I know I will enjoy them for a long time indeed!