
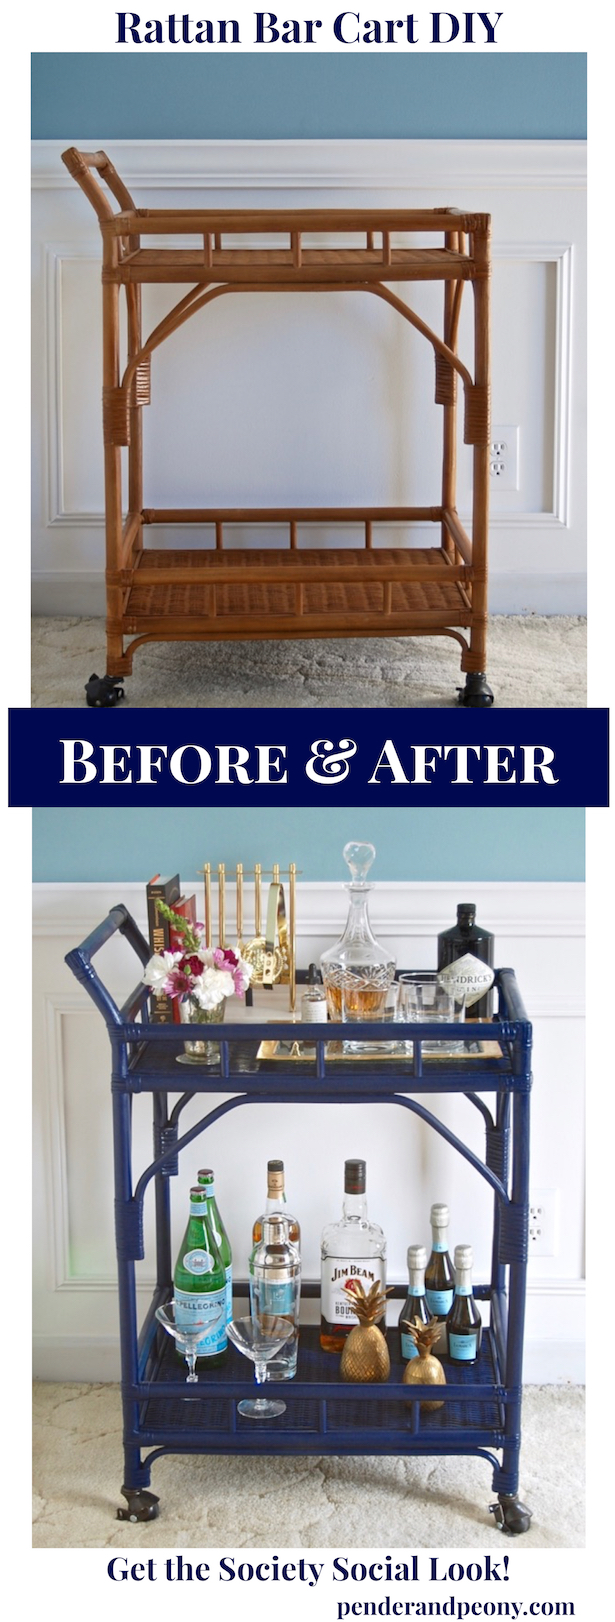
Rattan Bar Cart DIY: Inspired by Society Social
Get the charming sophistication of a Society Social bar cart with this bar cart DIY for under $40
Ask any hostess with the mostest and she will tell you a bar cart is an essential entertaining tool, especially if you don’t have a built in bar. Bar carts are functional, offering storage for your liquor and wine collection as well as a designated space to mix cocktails. Plus bar carts are portable and add a certain chic panache to any room.

Finding the perfect bar cart for your decor style and budget can be a bit of a challenge. I’ve long loved the look of Society Social’s rattan bar carts, but I just can’t justify their hefty price tag at $700 when S. and I have so many renovation projects on our list. Whenever I go antiquing or thrifting I keep an eye out for a vintage bar cart I could transform.
Finally, the other week I got lucky! Tucked away in the back of a consignment shop loaded down with books and other bric-a-brac was this simple rattan bar cart. I sauntered up to it trying to appear casual and not wanting to alert anyone else to this gem. I was nervous to look at the price tag, praying it would be affordable. I flipped the tag over and my heart did a little flip for joy. YES! It was only $30!
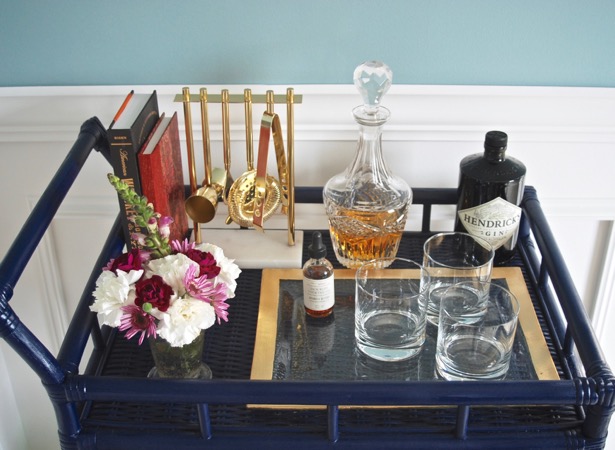
I knew immediately that this little guy had a new home in my dining room and that I wanted to paint him a bold color. It took me a couple days to decide between navy blue and black, but in the end I decided to go for the more unexpected and chic navy. Turns out the cart was from Target, and it must have been snagged on clearance. They restock this same style from time to time. Get it here!
This bar cart DIY was so simple and only takes about 4 hours to complete not to mention how inexpensive it was.
Materials for the Bar Cart DIY:
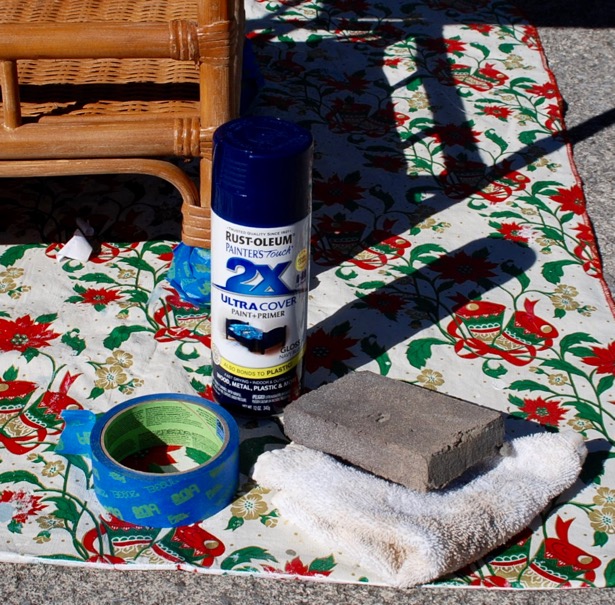
- Drop Cloth
- Sanding Block
- Rag
- 2 Cans of Spray Paint – RUST-OLEUM 2 x Ultra Cover in Gloss Navy
- Painter’s Tape
Steps:
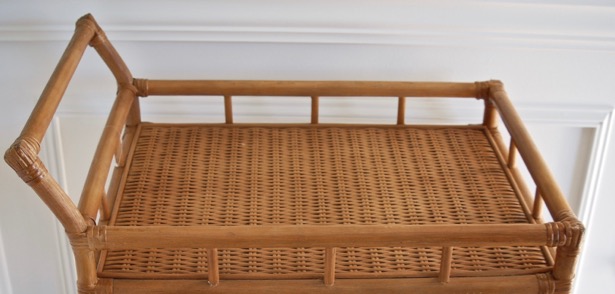
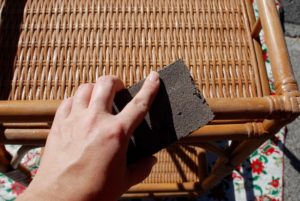
- Lightly sand down the rattan then wipe off dust.
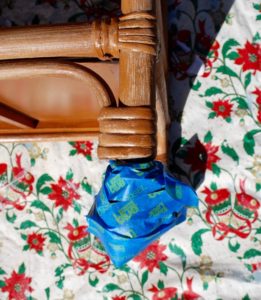
- Cover wheels with painter’s tape to protect from spray paint.
- Shake spray paint can vigorously and begin to spray rattan. Continuously move spray over surface in broad strokes to avoid excess paint and drips.
- Allow first coat to dry for about 30-45 mins. Then turn cart upside down and paint any missed spots.
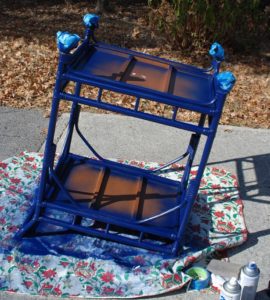
- Apply second coat of spray paint, turning cart as needed. Expect to use 1 can and 3/4 of second can. Allow to dry 1-2 hours before moving inside.
Turns out my “vintage” find wasn’t so vintage after all. When I flipped the bar cart over to spray paint the underside of the rails, I found a Threshold sticker on the top tier shelf. My bar cart is actually from Target and not very old.
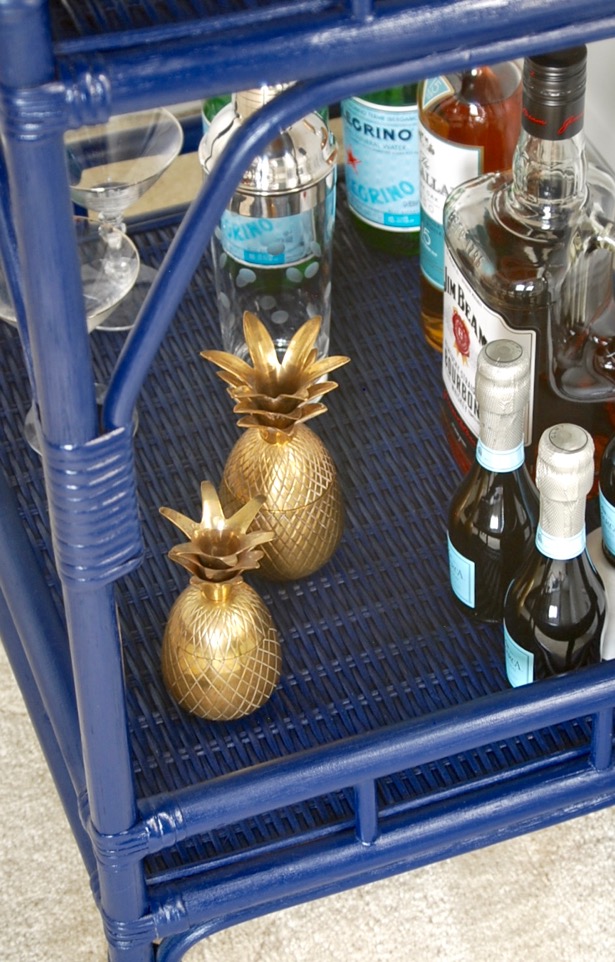
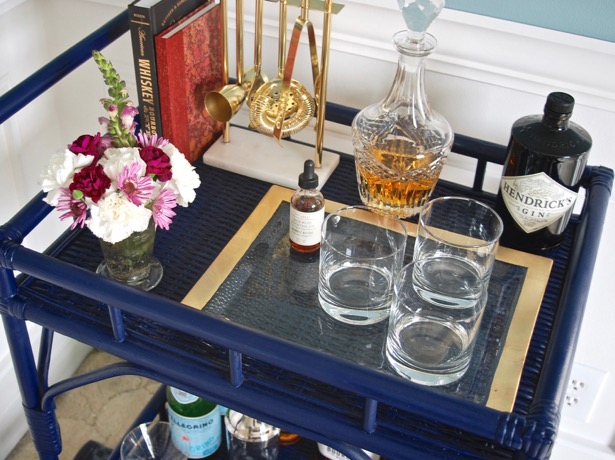
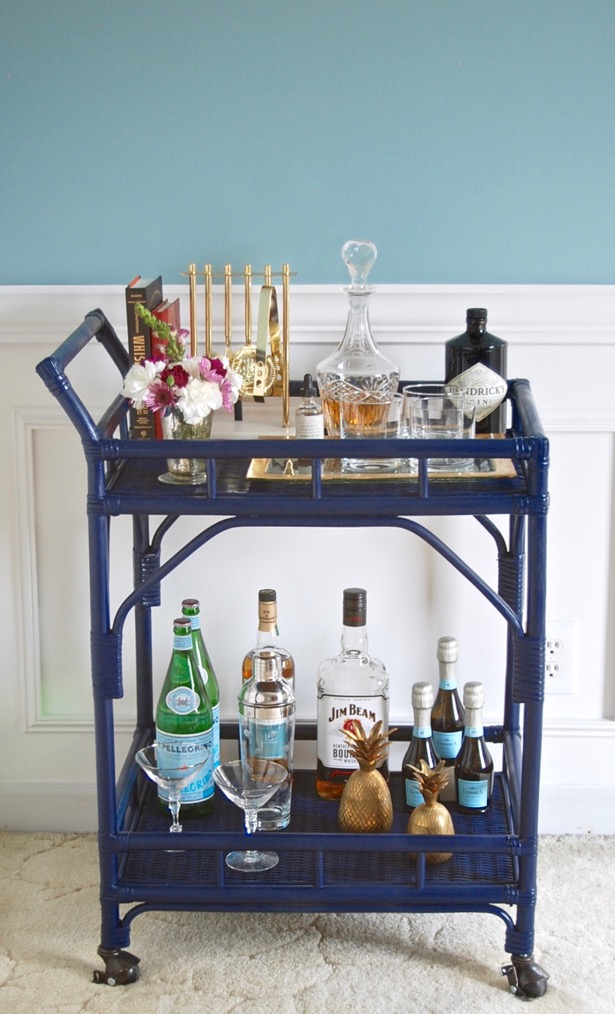
I’m so happy with how my bar cart DIY turned out. I love the navy, and it looks great in my dining room with the aqua and white walls. Plus this was so inexpensive: I paid $30 for the cart and $8 for the spray paint. See how I styled it for Thanksgiving here and it decked out for Christmas here.
Want in on the latest P&P posts, exclusive content, and free printables? Join the P&P Social Circle!
Hi there! I'm Katherine...

the curator, writer in residence, and decorator behind Pender & Peony.
I’ve decorated my entire 1960s brick colonial with secondhand finds and antiques on a budget without sacrificing style, quality, or comfort.
You CAN have a traditional home with timeless charm on a budget too!
The problem isn't your taste -- it's an industry that glorifies the next big trend and only showcases high end custom design.
That's why I created The Collected Room Method to teach you my approach to the collected interior!
I love this cart! The color is perfect!
Thanks so much Billie! I’m so happy with how it turned out, and I’ve been enjoying styling it for the holidays.
Love the bar cart! The color is awesome! Great job!
Thanks Sherry! : )
You made this bar cart look great!
Thanks so much Paula!
What a great find … consider me jealous! 😉 I love the paint your chose!
Thanks so much Ginnie! This has definitely been one of the best DIYs I’ve ever done!