
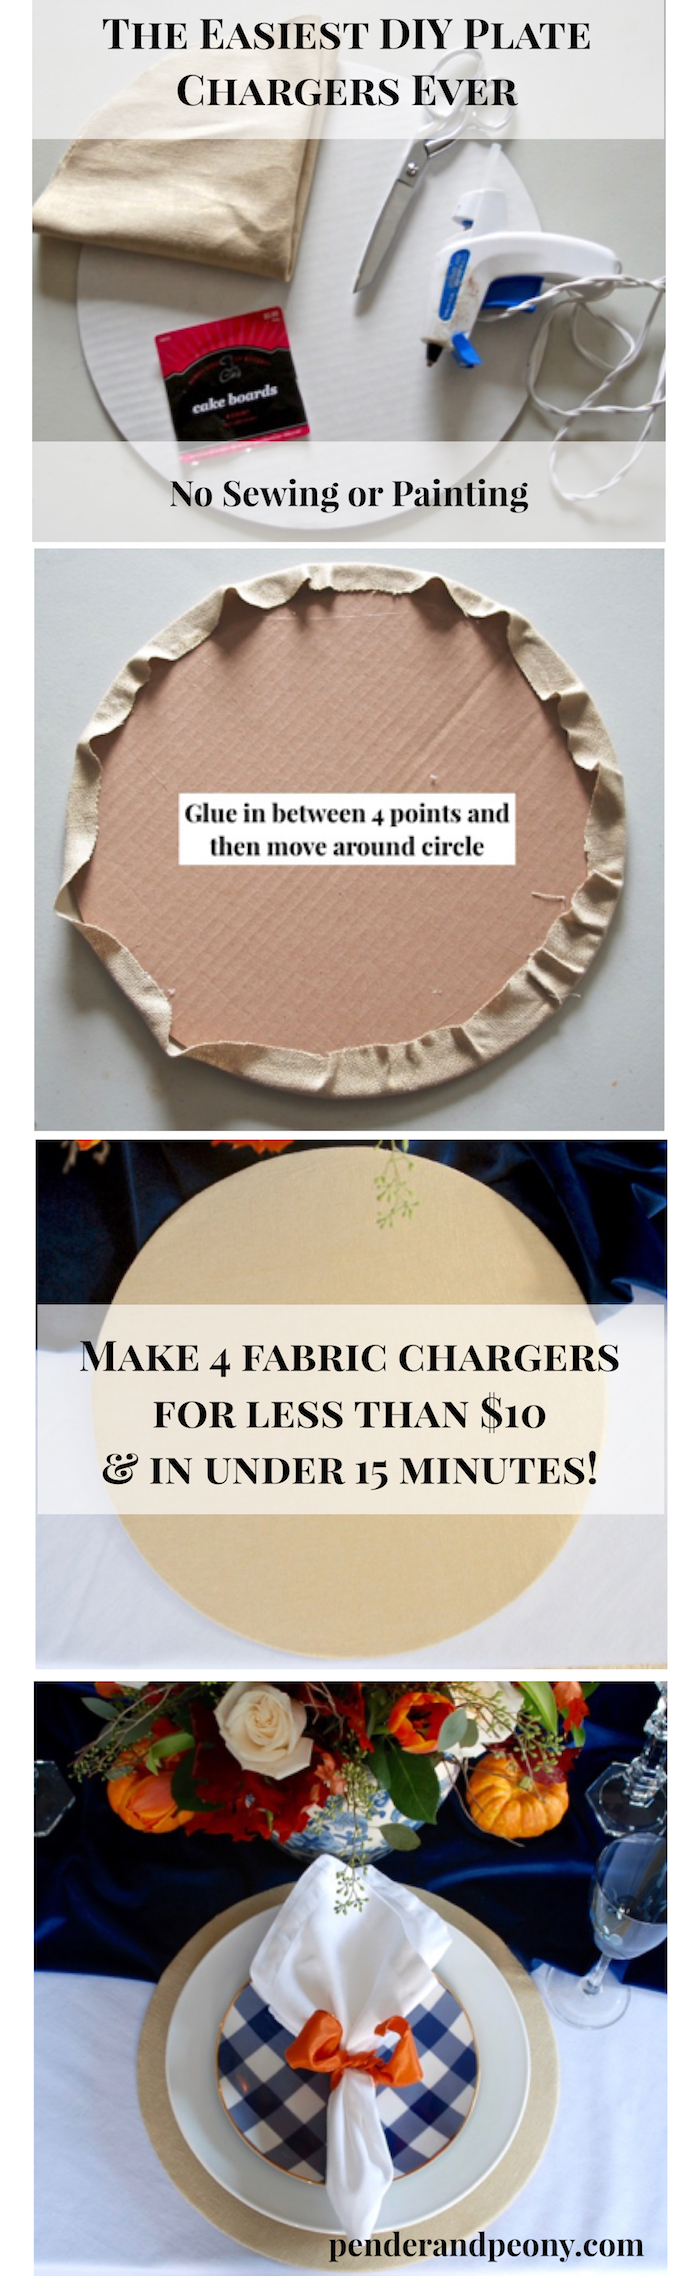
The Easiest DIY Plate Chargers Ever: No Sewing or Painting
Make 4 fabric chargers for less than $10 and in under 15 minutes – seriously the easiest DIY plate chargers you will ever make!

*This post contains affiliate links for your convience.*
This fall I could not find placemats or plate chargers that I liked for my fall tablescape. It was one of those supremely annoying moments where I knew the look I wanted but couldn’t verbalize what that was or figure out how to achieve it. Then I stumbled into the cake baking aisle in the craft store!
Suddenly, looking at the cake boards it came to me – fabric covered chargers! The cake boards were the perfect size, and I knew just the fabric I wanted to use. In fact, I already had it at home in my fabric scrap bin.
These are seriously the easiest DIY plate chargers you will ever make!

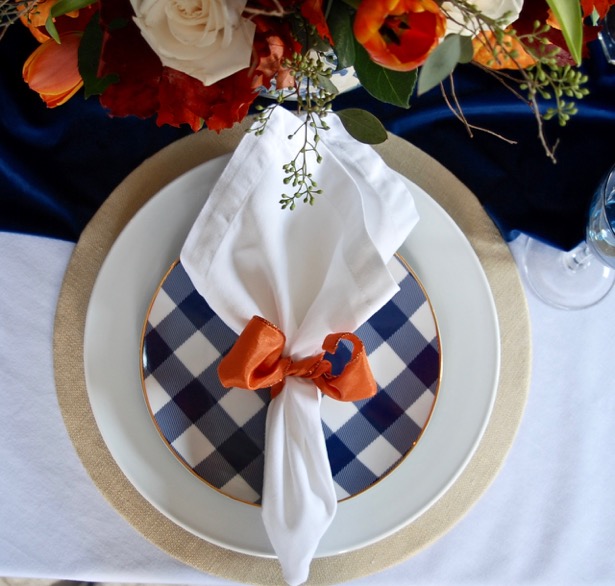
See how the autumn tablescape turned out here!
Materials for the DIY Plate Chargers:
- 1 Yard of Fabric
- Iron
- Pack of Cake Boards – you can get a pack of 8 from amazon!
- Scissors
- Hot Glue Gun and Glue


Steps to Make the DIY Plate Chargers:
No. 1 Iron Fabric then spread on flat surface and layout cake boards.
No. 2 Cut fabric around each cake board, allowing about 1 inch of fabric to fold over and glue.
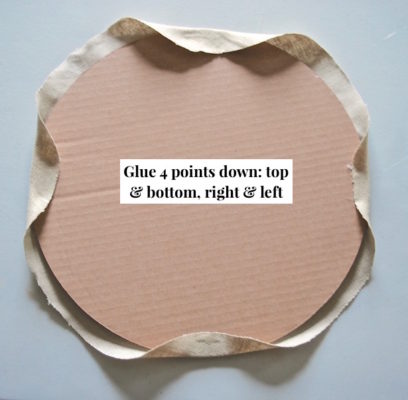
No. 3 Heat up hot glue gun and glue fabric to cake board. Start with 4 points: top and bottom and each side. Pull fabric slightly to stretch evenly across board. Don’t pull too hard or you will bend the board or crease the edges.
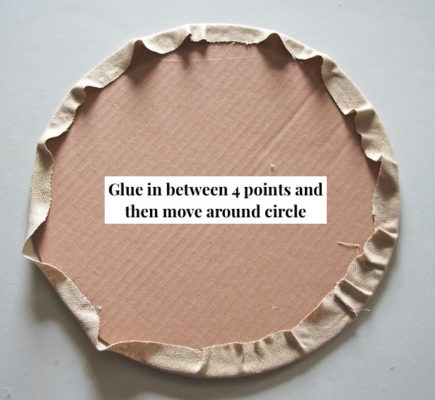
No. 4 Next glue down 4 points in between previously glued spots. Then move around circle gluing fabric down.
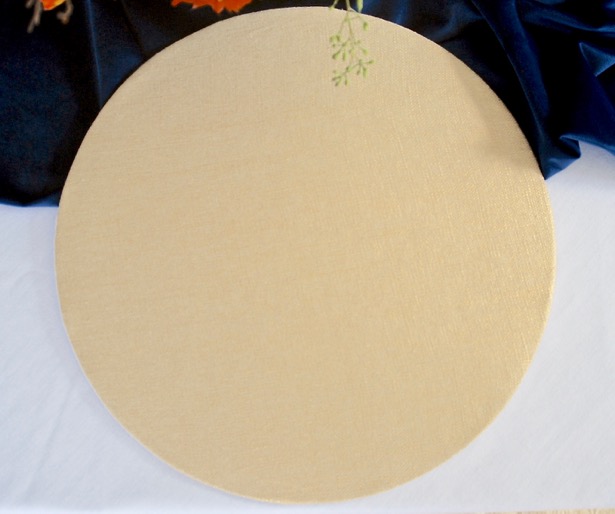
No. 5 Clean off any glue strings, and you are done! Seriously, that’s it!

Cost: 4 Chargers at $9.84 ($2.46 per charger)
- $5.99 Cake Boards- 6 count
- $5.00 Fabric
- $3.99 Mini Glue Sticks- 18 count
As you can see, I left my chargers clean and simple, but you could easily dress them up by adding a ruffle or fun trim to the edge.
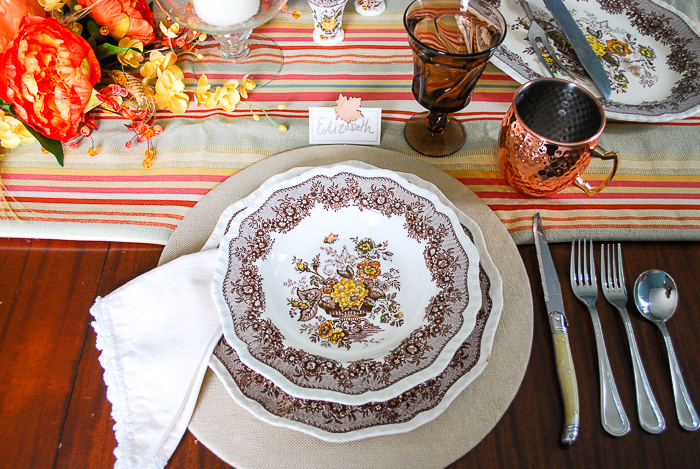
See how I used these DIY plate chargers in this fall tablescape!
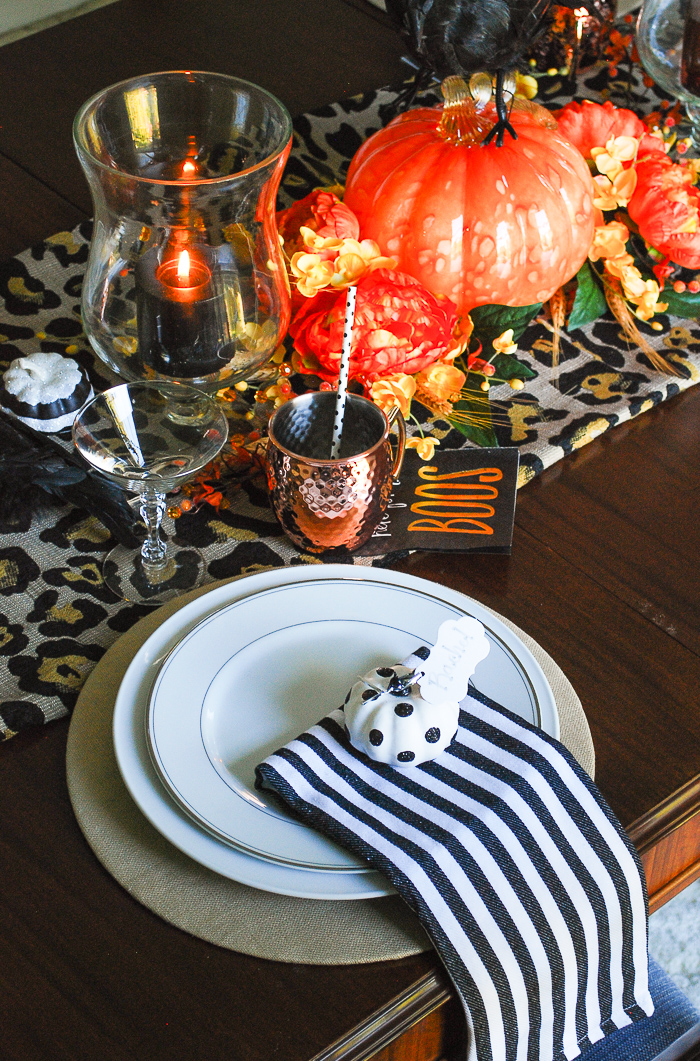
Seriously, these chargers are so versatile, I used them again on this glam Halloween table!
Pin this for later:
Partying at The Dedicated House…Before & After Wednesday…Tablescape Thursday…Remodelaholic…A Stroll Thru Life…
What a great idea! I’m going to have to try to make these chargers for my Christmas tablescape. Thanks for the inspiration.
Thanks KayC! These are so simple, I cannot believe I didn’t think of this sooner! Have fun with your Christmas DIY.
Great DIY — and the possibilities are endless! Thanks for sharing.
Seriously endless! I’m already planning on doing this again, and I have to add a fun trim to the edge this time.
LOVE this idea! Chargers is the one thing I never got on my wedding registry all those years ago and I’ve never gotten around to purchasing them. I love this idea to cheaply make chargers for all sorts of occasions. Visiting from Remodelaholic.
Thanks Victoria! You can find reasonably priced ones out there, but these are so cheap, easy and customizable!
What a brilliant idea!! These turned out fabulous Katherine! I love that they were so simple to make and you can do anything with them! Possibilities are endless!!
Yes, I think that is the best part, and it doesn’t take much fabric!
What a great idea to use cake boards! Thank you for sharing. You are one of the features at The Round-Up from the Before & After Wednesday party at The Dedicated House. Here is the link to The Round-Up. http://www.thededicatedhouse.com/2016/10/round-wednesday.html Happy Fall day to you! Toodles, Kathryn @TheDedicatedHouse
Thanks, so excited to be featured!
or mod podge paper napkins on for all the different holidays
Oh! I like that idea!
I am going to take this one step further and cover my cake board with clear plastic wrap over the fabric. I donate cakes for a local school fall festival every year and they are auctioned off. What a great way to make my cake stand out!
Great idea!
I love it but I am so frugal that I will cut circles out of corrugated boxes.
Thanks Bonnie! Go for it. I would never be able to get an even edge.
Brilliant! Thank you!!!
Absolutely Carol. Thanks for visiting!
So now everyone knows my closely held secret to custom charger plates! LOL! I will often glue a ribbon ruffle to the outside edge, or trim with upholstery gimping, braiding, or ric rac. I use spray adhesive to glue the top surface to keep the fabric from shifting and then glue the edges of the fabric to the back using clothes pins to hold it in place as I glue around the edges. I have also covered boards in pretty pastel colored fabric and then covered them again with lace -very pretty for a bridal shower charger. One year for Thanksgiving I base painted the cake boards in copper colored spray paint, then covered them in burlap and added a natural hemp rope around the outside edge for a very rustic look over my deep brown tablecloth.
Wow! Lisa those all sound like really pretty chargers! Thanks for stopping by.
Hi there! What size were you chargers and how many fit on 1 yard of fabric? Making my on wedding chargers! Thanks for your post! -V
Hi. I made 4 chargers with 1 yard of fabric. Each charger is 14″ diameter. Best, Katherine
This is such a great idea! I can’t wait to make some chargers.
Thanks! Enjoy!